Prefer a PDF version to print? Click here —> 
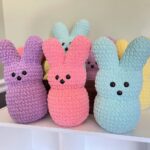
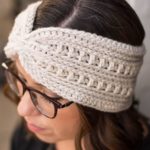
This weekend is opening day for my kids baseball and softball games! But here in Southern Indiana, it sure doesn’t feel like baseball weather. These Baseball and Softball Ear Warmer Crochet Patterns are going to be a must for me and my kids! And probably for you too!
This pattern works up quick! You can make several with 1 skein. Where did I find the neon yellow yarn? See, I already knew you were going to ask! The neon yellow yarn from the photos is Hobby Lobby’s I Love This Yarn in Yellow Neon.
It took me a bit to perfect this pattern. I had a look I was going for and knew i could achieve it using front post stitches like cables. Last year I made some basic ear warmers and sewed the stitches on….well I didn’t like that method. Imagine me not liking sewing….if you follow my pattern, you know I try to avoid sewing in every way possible.
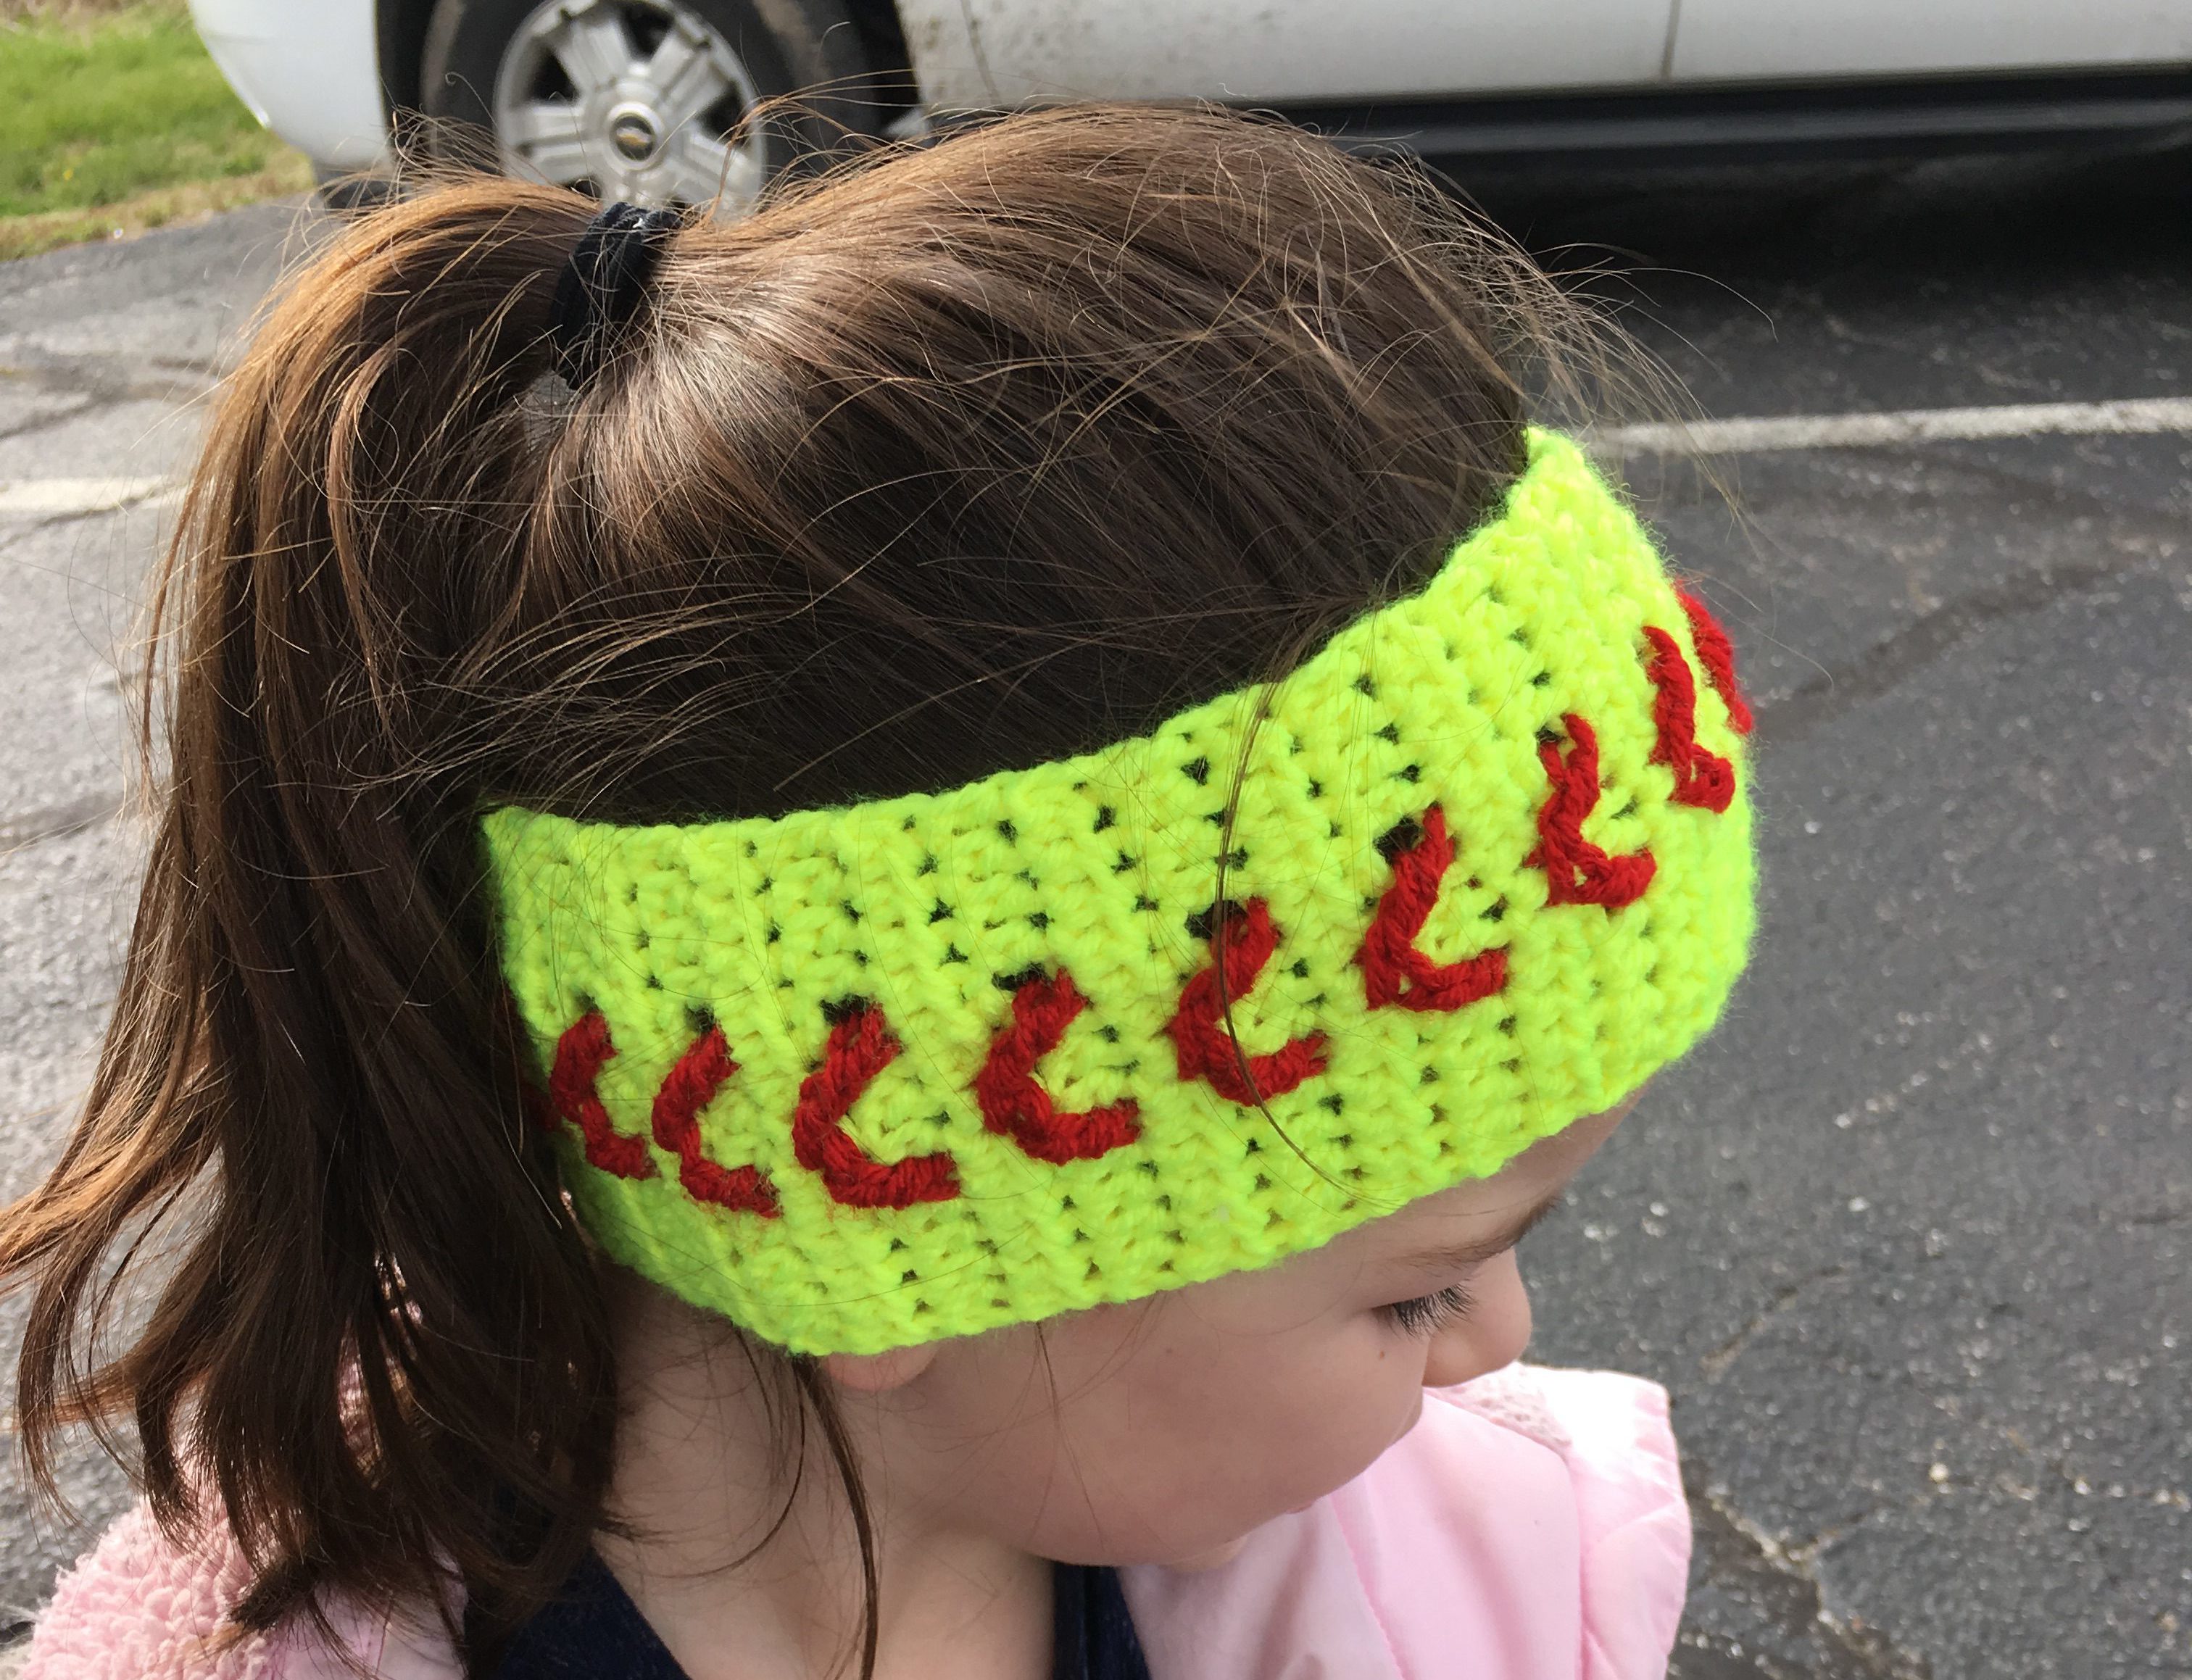
So, this pattern is worked with hdc stitches and front post triple stitches to make the V stitches. There is a technique that you have to follow to keep the red from showing through. Follow the photos for guidance. And trust me…it’ll work out!
Find the printable PDF version of this pattern here on Ravelry for a small fee.

Baseball/Softball Ear Warmer Crochet Pattern by Crochet it Creations
Supplies Needed
- Worsted Weight #4 Yarn in white or neon yellow and red
- Size G 4.5mm crochet hook
- Scissors
- Tapestry Needle
Stitches Used
- Hdc – half double crochet
- Fptr – front post triple crochet
Gauge
- 4” square – 15 st x 10 rows
Pattern Notes
- Ch 1 does not count as a stitch
- You would normally change colors by completing the stitch until the last step. Drop that color and pick up next color, complete last step of stitch. When changing to red you will not do that.
- When working the fptr in red, you will leave white/yellow on the hook, then y/o twice in red for the fptr. This will keep a clean look for the V stitch and not have any red showing through. See photos.
- The red baseball/softball stitches in the center are worked like cables by using front posts. The front post counts as a stitch, although it is at an angle. Both fptr are made around the same stitch with 3 hdc in the center to look like a V.
- Drop the color changed from and push behind your work. Do not cut these ends, just simply pick it back up again for next color change. Just be sure to not have them pulled too tight.
- You may also notice there is “holes” around the red Vs from the angle of the stitch, t
his is normal. It isn’t very noticeable and much better than sewing the V stitches on!

Skip 2 st, frptr around next in red by leaving yellow/white on hook and y/o twice in red. (hold onto those loops and you may need to re-adjust tension).


Continue to work stitch in red and re-adjust your tension as needed. Change back to yellow/white on last step of stitch. Push red tail behind work. It may seem difficult to do, but trust me…keeping the yellow/white on the hook will keep the red from showing through. 

Go back behind the fptr in yellow/white, hdc in second st skipped, hdc in st from front post, and hdc in next. y/o twice with red, fptr in same st other front post was made. Switch back to yellow on the last step of stitch. Push red to back of work.


Hdc in remaining 4 st in white/yellow. Ch 1 and turn. Hdc in each st across.


Child Size
For ages 6-10, measures 18” x 3.75”
In white or neon yellow. Chain 14
Row 1: hdc in second chain from hook and each chain across in the back bump of the chain. see post here for how and why. (13 st) ch 1 turn
Row 2: hdc in 4 st, skip 2 st (first st skipped will count as the stitch for the front post), drop white/yellow and yarn over twice for fptr in red, fptr around next st (change back to white/yellow at last step of st), go back and hdc in the second st skipped and the stitch fp was worked, hdc in next st, drop white/yellow and yarn over twice for fptr in red, fptr back around same stitch first fp was made in (change back to white/yellow at last step of st), hdc in last 4 st. (13) ch 1 and turn. See photos for clarification
Row 3: hdc in each st across (13) turn 1 and turn
Row 4 – until measures 18”: repeat rows 2 & 3 making sure to end with row 2 and the red V. cut red yarn.
Turn inside out. Close ear warmer by slip stitching across last row and first row. Finish off and weave in ends.

Adult Size
Measures 19” L x 4” wide
In white or neon yellow. Chain 16
Row 1: hdc in second chain from hook and each chain across in the back bump of the chain. see post here for how and why. (15 st) ch 1 turn
Row 2: hdc in 5 st, skip 2 st (first st skipped will count as the stitch for the front post), drop white/yellow and yarn over twice for fptr in red, fptr around next st (change back to white/yellow at last step of st), go back and hdc in the second st skipped and the stitch fp was worked, hdc in next st, drop white/yellow and yarn over twice for fptr in red, fptr back around same stitch first fp was made in (change back to white/yellow at last step of st), hdc in last 5 st. (15) ch 1 and turn. See photos for clarification
Row 3: hdc in each st across (15) turn 1 and turn
Row 4 – until measures 19”: repeat rows 2 & 3 making sure to end with row 2 and the red V. cut red yarn.
Turn inside out. Close ear warmer by slip stitching across last row and first row. Finish off and weave in ends.
Photo on the left is changing to red on the last step of the hdc and not leaving yellow on the hook. This makes the top of the fptr stitch red and it shows through. Photo on right is the technique of leaving yellow on hook, then yarning over twice with red. Although it’s a little frustrating to work this way. It makes a world of a difference! I hope you enjoyed this pattern!
Find the printable PDF version of this pattern here on Ravelry for a small fee.
Save for later or share with others using the share buttons at the top and bottom of post. If you have any questions please comment below or you can email me. I love to see photos of your work and read your comments. Follow Crochet It Creations on all of your favorite social media sites!
You may sell your items made from my patterns. Please do not use my photos as your own to sell your work. A link back to my site is much appreciated when selling your items from my patterns. I hope you enjoy!
This site is supported by advertisers and may contain affiliate links. See copyright & disclosure policy here for more information.