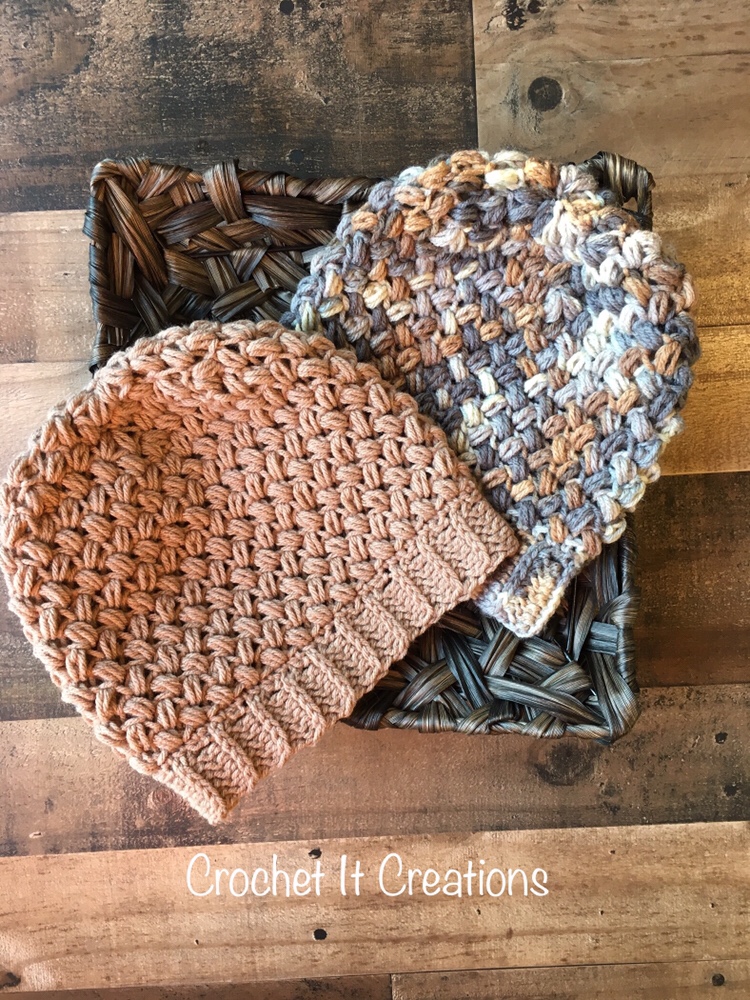
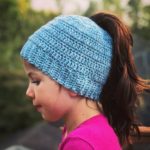
The Coffee Bean Beanie is a slouchy beanie hat pattern that comes in adult size. Prefer a PDF version to print? Click HERE
I recently posted a pattern for a blanket using the bean stitch. (see it here) I knew I had to make a hat out of it! And a slouchy beanie at that! Pattern below is for the Coffee Bean Slouchy Beanie Crochet Pattern.

The bean stitch isn’t really a form of the single crochet, but isn’t really a half double crochet either. It is mostly made up of several loops. These loops give it pretty textures. See “stitches used” section for how to make the bean stitch.
Since the bean stitch is best worked in back and forth rows, you must turn to get the zig zag effect. Which is not usual for hats. Read the pattern carefully for where to place the stitches.
The brim on this pattern uses the camel stitch which is made in the third loop of the hdc. I like the looks of this one. I have changed up the brim on several different hat patterns to simply show you the difference. You may use whatever you prefer for the brim. Just remember that the hdc camel stitch does not stretch as much as the BLO single crochet brim. I usually make my BLO sc brims 16″. The camel stitch brim in this one is 19″ to fit a 21-22″ adult head.
I used BLO single crochet brim on The Ana Beanie, see the pattern here. I used BLO slip stitch on the Braided Cable Beanie, see the pattern here.
If you would prefer to not have the hat slouchy, eliminate 2 rows to be about 8.5″ long. Pattern is for adult size but could easily be adjusted smaller.
- Pin the Coffee Bean Slouchy Beanie HERE for Later
- Save to your Ravelry Queue HERE
- Purchase the ad-free PDF to Print from Etsy HERE

Coffee Bean Slouchy Beanie Crochet Pattern by Crochet it Creations
Materials Needed
- I 5.5mm and K 6.5mm Crochet Hooks
- Medium Weight #4 yarn – approximately 175 yards
- Tapestry Needle
- Measuring Tape
- Scissors
Gauge
- 4″ square = 8.5 rows x 6 BS using K hook
Stitches Used/Abbreviations
- HDC – Half Double Crochet
- SC – Single Crochet
- Sl St – Slip Stitch
- Ch – Chain
- Join – Slip Stitch to first stitch
- CS (Camel Stitch) – place HDC in the third loop of the HDC from previous row, which is located behind the normal top loops that you work in. The third loop will be facing you since you are turning for the brim.
- BS (Bean Stitch) – insert hk (hook) into st, pull up a loop, y/o (yarn over) and insert into same st, pull up a loop, y/o and insert hk in same st again, pull up a loop, y/o and pull through all 6 loops on hk, ch 1. (all Bean Stitches are completed with ch 1 after)
- BS2TOG (Bean Stitch 2 Beans Together) – insert hk into st, pull up a loop, y/o and insert hk in same stitch, pull up a loop, y/o and insert hk in same st again, pull up a loop, insert hk in to NEXT st, pull up a loop, y/o and insert hk in same st, pull up a loop, y/o and insert hk in same st again, pull up a loop, y/o and pull through all 11 loops on hk, ch 1.
- RS – Right Side
- WS – Wrong Side
- St(s) – Stitch(es)
Pattern Notes
- Because the Bean Stitches are made to be worked back and forth, we will be turning on each row of the hat.
- Bean Stitches are placed in the space after the Bean Stitch from the previous row, see photos for guidance.
- The last Bean Stitch of the row is placed in the join space from the previous row.
- If you prefer a hat that is not slouchy, eliminate 2 rows of the beanie. Stop at row 12 instead of 14.
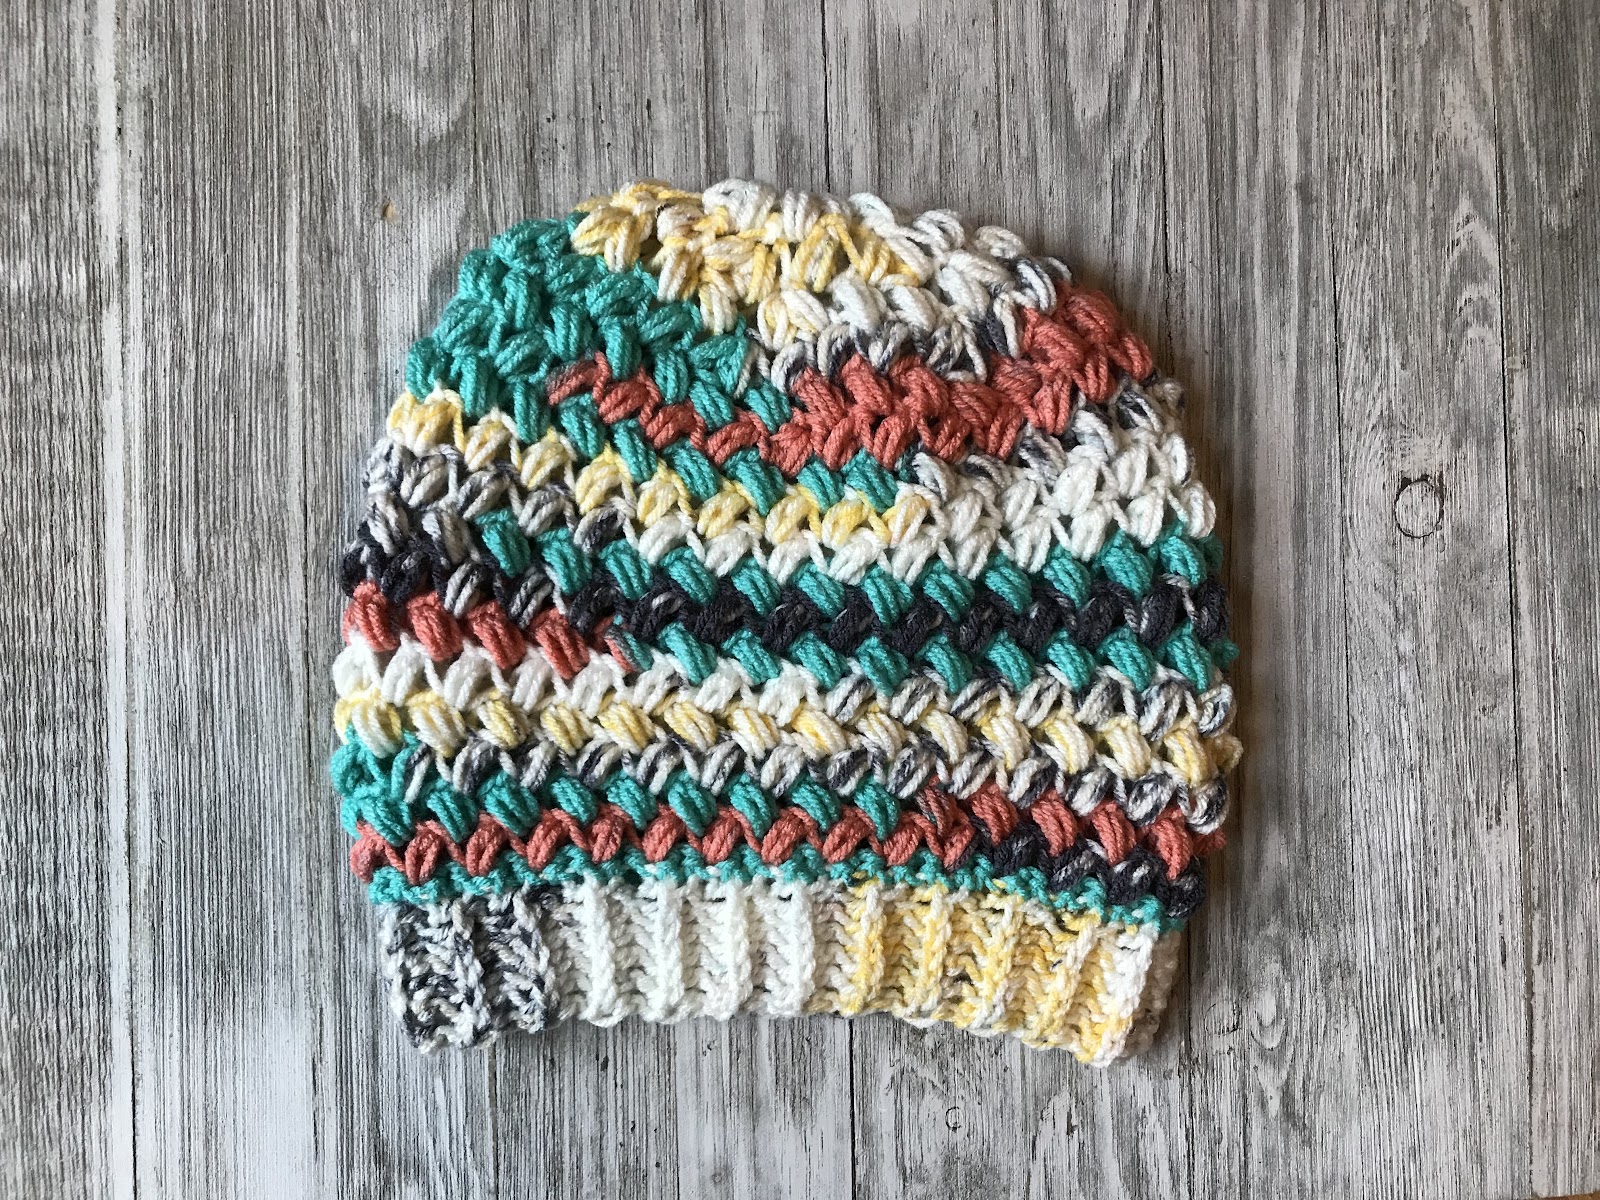
Adult Size
Measures 10″ W x 9.5″H
Brim – using I hook
Ch 7
Row 1: HDC in 2nd ch from hk and each ch across, turn (6)
Row 2 – 48 (measuring about 19″ to give room to stretch): Ch 1, CS across, turn (6)
Join row 1 to last row with Sl St in third loop of hdc and chain across. Turn inside out. You will now be working across the ends of the rows.
Where to place the Camel Stitch (CS)

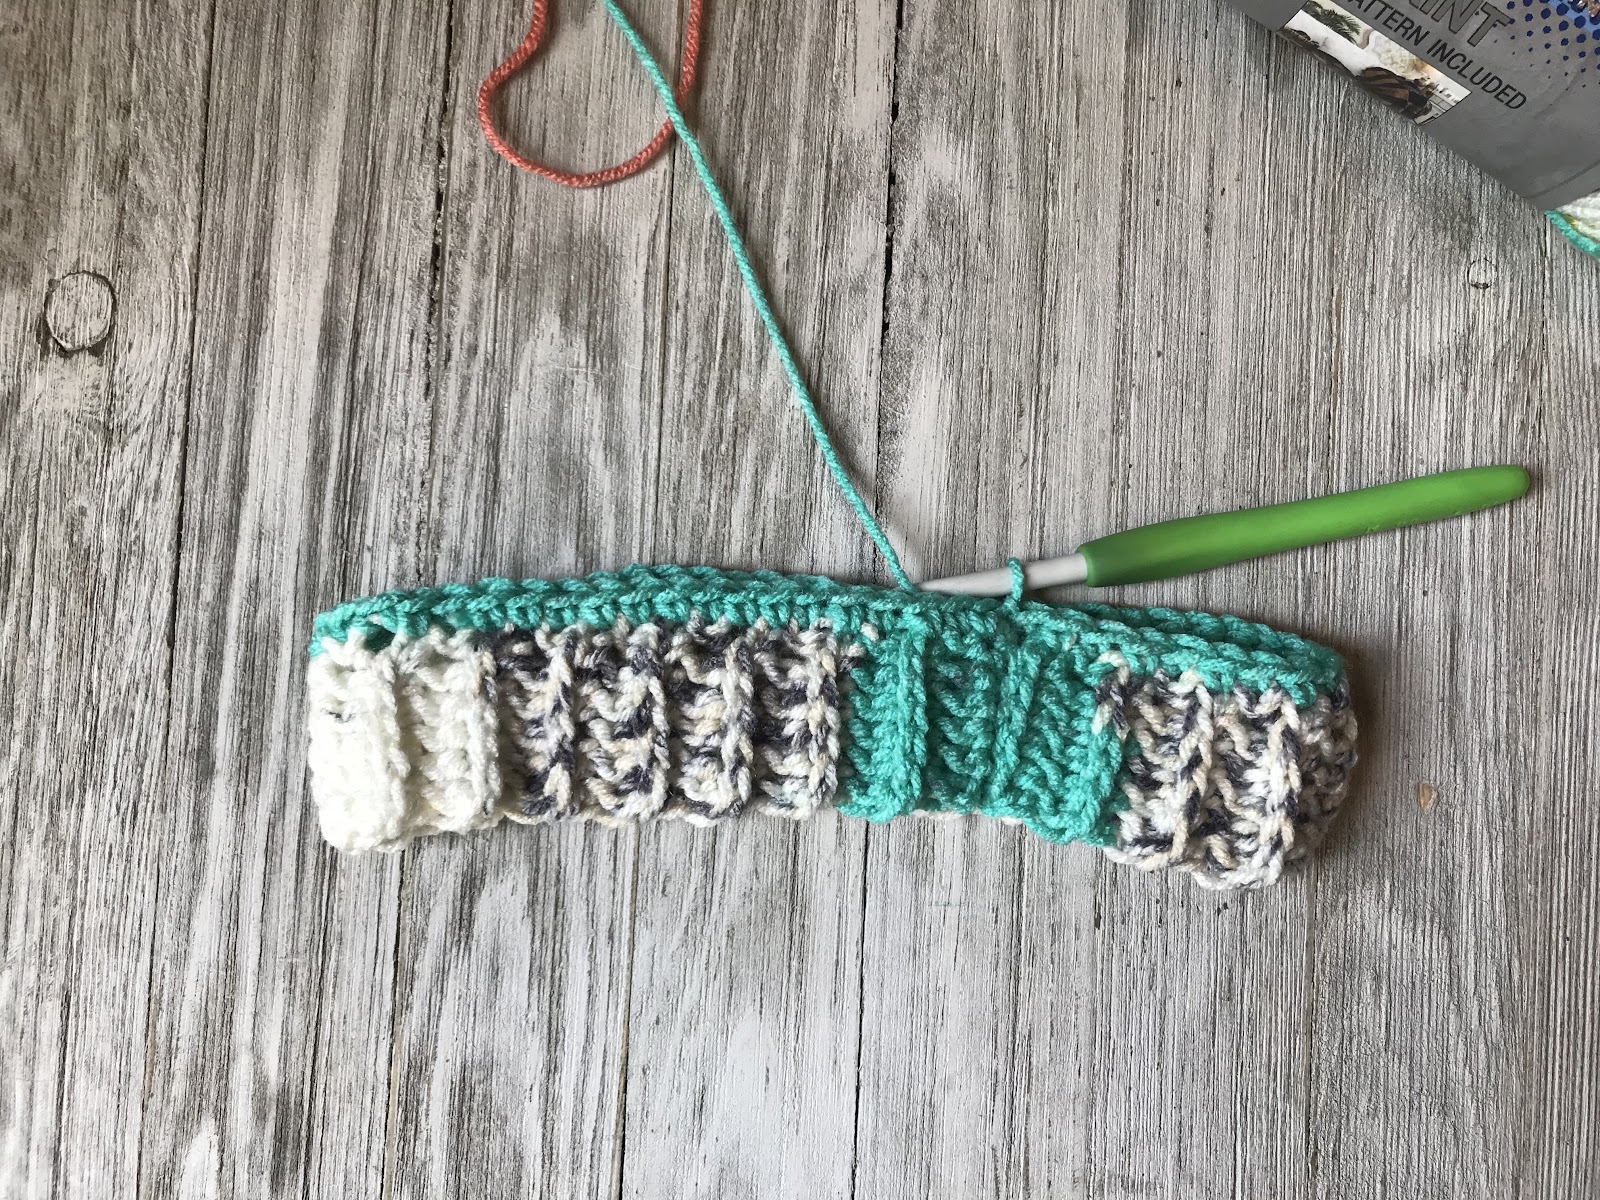
Finished Brim Rows

Slip Stitch Brim Together

Brim Completed

Body of Crochet Beanie – Using K hook
Rnd 1 (RS): Ch 1, SC 58 times around the brim, join. (58)
Rnd 2 (RS): Ch 1, BS in first st (don’t forget to ch 1 to complete the bean stitch), *skip a st, BS in next*, repeat from * to * around, join, TURN. (29 BS)
Rnd 3 (WS) – 14 (RS): Ch 1, BS in each st around, join, TURN. (29 BS) You are placing the Bean Stitch in the space AFTER the bean from the previous row. The last Bean Stitch of the row will be placed in the same space as the join.
Rnd 15 (WS): Ch 1, *BS in 3 sts, BS2TOG* repeat from * to * 4 more times, BS in last 4 stitches, join, and turn (24 BS)
Rnd 16 (RS): Ch 1, *BS in 2 sts, BS2TOG* repeat from * to * around, join, and turn. (18 BS)
Rnd 17 (WS): Ch 1, *BS in 1 st, BS2TOG* repeat from * to * around, join, turn. (12 BS)
Rnd 18 (RS): Ch 1, BS2TOG in each st around, join, turn. (6 BS)
Finish off leaving a long tail. Use tapestry needle to weave yarn in and out of the last round. Pull tight to close the hole. Attach a pom pom or leave alone.
Finished Round 1
Round 2 of Bean Stitches Completed

Where to place Bean Stitches

Find other patterns and crochet tips on crochetitcreations.com.
Video below is a guide for how to make the Bean Stitch!
Purchase a PDF ad-free printable version from Ravelry here. I GREATLY appreciate every pattern purchase. Thank you!
Save for later or share with others using the share buttons at the top and bottom of post. If you have any questions please comment below or you can email me at jessica@crochetitcreations.com.
I love to see photos of your work and read your comments. Follow Crochet It Creations on all of your favorite social media sites! Join my Crochet It Creations Crochet Friends Facebook group to further connect!
You may sell your items made from my patterns. Please do not use my photos as your own to sell your work. A link back to my site is much appreciated when selling your items from my patterns. I hope you enjoy!
This site is supported by advertisers and may contain affiliate links. See copyright & disclosure policy here for more information.

This is so beautiful! I can’t wait to make it! 😀
Hey! What yarn did you use?
Hello! It is loops and Threads impeccable from Michaels. I do not remember the color name.
What stitch do you “join”?
To the top of the bean
[…] crochetitcreations.com […]
How do you crochet 2 bean stitches together to decrease?
The steps is in the pattern notes
Hello! Do you know the name of the color used in the video?
It is painted Canyon from hobby lobby I love this yarn
In round 1 of the body do you mean 48 sts instead of 58? I squeezed in 58 and it’s really pushed out and floppy. It could just be me, too. 😆
Just kidding. It was my fault!
[…] Coffee Bean Slouchy Beanie by Crochet it Creations […]
Why is row 1 58 sc? Where are you supposed to put the extra 10 stitches?
Some rows will get 2 sc. One way to do this evenly is to divide 58 by 2, place a stitch marker at the half mark of the brim. Make sure you have 29 sc in the first and second half to get the 58 evenly around.
[…] crochetitcreations […]