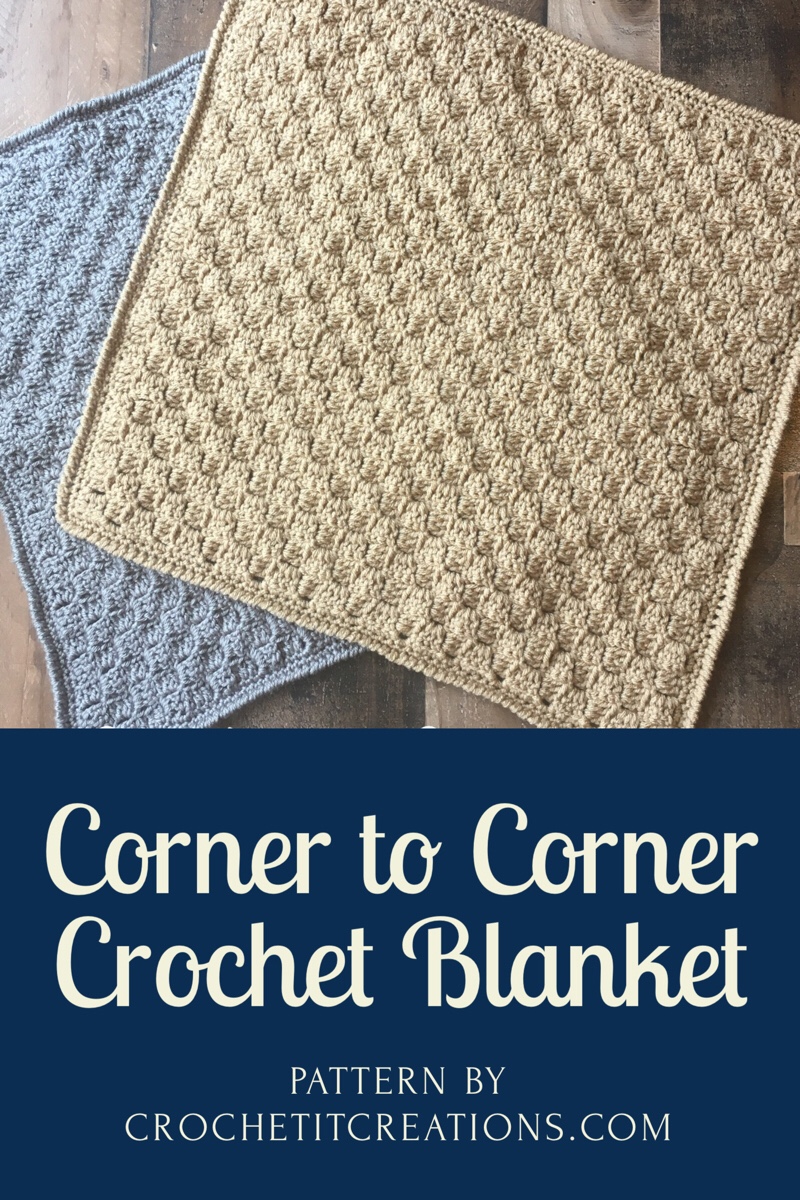
Corner to Corner (C2C) crochet patterns are very popular for many different reasons. It gives the pattern texture and almost a weave effect. It can be used to make blankets, pillows, scarves, rugs and many other things.
Some may choose C2C crochet patterns to make graphgans. Graphgans can be a photo, wording, or anything you want it to be. The possibilities are endless!
In this post, I want you to learn the basics of corner to corner. With the basics you will be able to make any size project you want. That’s the beauty of corner to corner, you have more control of the sizing.
To start the crochet pattern, you begin at the corner (obviously!). It is made in double crochet blocks. Each row you are adding a block, until it gets the size you want it. Then, you begin decreasing. You can make it an even square, or rectangle. When making a rectangle and it gets the width you want, you continue to increase on one side only.
For the purpose of this crochet pattern, we will be working on a blanket. It can honestly be made with any size hook and yarn weight. You simply keep going until you’ve reach desired length. Keep reading and I’ll show ya how it’s done!

Materials needed
- K 6.5mm Crochet Hook for blanket or any size of your choosing
- Medium #4 weight yarn or any size yarn of your choosing
- scissors
- tapestry needle
- tape measure
Stitches Used
- ch – chain
- dc – double crochet
- sl st – slip stitch
Pattern Notes
- Each ch 3 and 3 dcs are 1 block
- Increasing is done by ch 6 and adding a block on each row
- Decreasing is done by sl st across the 3 dc and into ch-3 space
- When making a square, stop increasing at how wide you want the square, then begin decreasing on each side.
- When making a rectangle, stop increasing at how wide you want it, then begin decreasing on one side only. You will still be increasing on the other to add length. Stop at desired length and decrease on both sides.
Corner to Corner Crochet Blanket
Increasing blocks
Row 1: Ch 6, dc in 4th ch from hook and each ch across (1 block)

Row 2: ch 6

dc in 4th ch from hook and each ch across. Flip the first block over and sl st to ch-3 space from row 1

ch 3, 3 dc in ch space. (2 blocks made)

Row 3: Ch 6, dc in 4th ch from hook and each ch across. Flip the work over and sl st to ch-3 space from row 2. Ch 3 dc 3 times in ch-3 space. sl st to next ch-3 space from row 2. Ch 3, dc 3 times in ch-3 space. (3 blocks made)
Continue working until you have reached you’re desired length. You are adding 1 block on each row.
If you are making a square, the length is the same size as the width. So you will begin decreasing once it’s as big as you want.
If you are making a rectangle, you will increase until it’s is the width you want the rectangle. I will show you how to add to the length, after the square decrease below. Keep reading.
Decreasing Blocks
When decreasing, you are no longer chaining 6 at the beginning, you are slip stitching to get to the other side of the block.
Decrease 1: turn, sl st across each dc and into ch-3. 
Ch 3, dc 3 times in ch-3 space. sl st to next ch-3 space.

Continue working back up the row by ch 3, 3 dc in ch-3 sp, sl st to next ch-3 space.
Next Decrease Block for a Square: turn, sl st across dc and into ch-3 space. ch 3, dc 3 times in ch-3 space. sl st to next ch-3 space. Repeat across. Continue working rows turning and sl st across the beginning block on each side.
If working a rectangle, you will continue to do increase block (ch 6) on one side, and decrease block (sl st) on the other side. Continue working this way until the work reaches the desired length. Then decrease on each side as you would for the square.
On either one, you will continue to decrease when closing it up until you reach 1 block on the opposite corner from which you started.
This all sounds very confusing, but will make sense as you work the pattern. As always, I am here to help! Just message me.

See here how to add a crochet border to your C2C blanket, just like the photo above.
Use this chart as a guide for blanket sizes.

Save for later or share with others using the share buttons at the top and bottom of post. If you have any questions please comment below or you can email me. I love to see photos of your work and read your comments. Follow Crochet It Creations on all of your favorite social media sites!
You may sell your items made from my patterns. Please do not use my photos as your own to sell your work. A link back to my site is much appreciated when selling your items from my patterns. I hope you enjoy!
This site is supported by advertisers and may contain affiliate links. See copyright & disclosure policyhere for more information.


