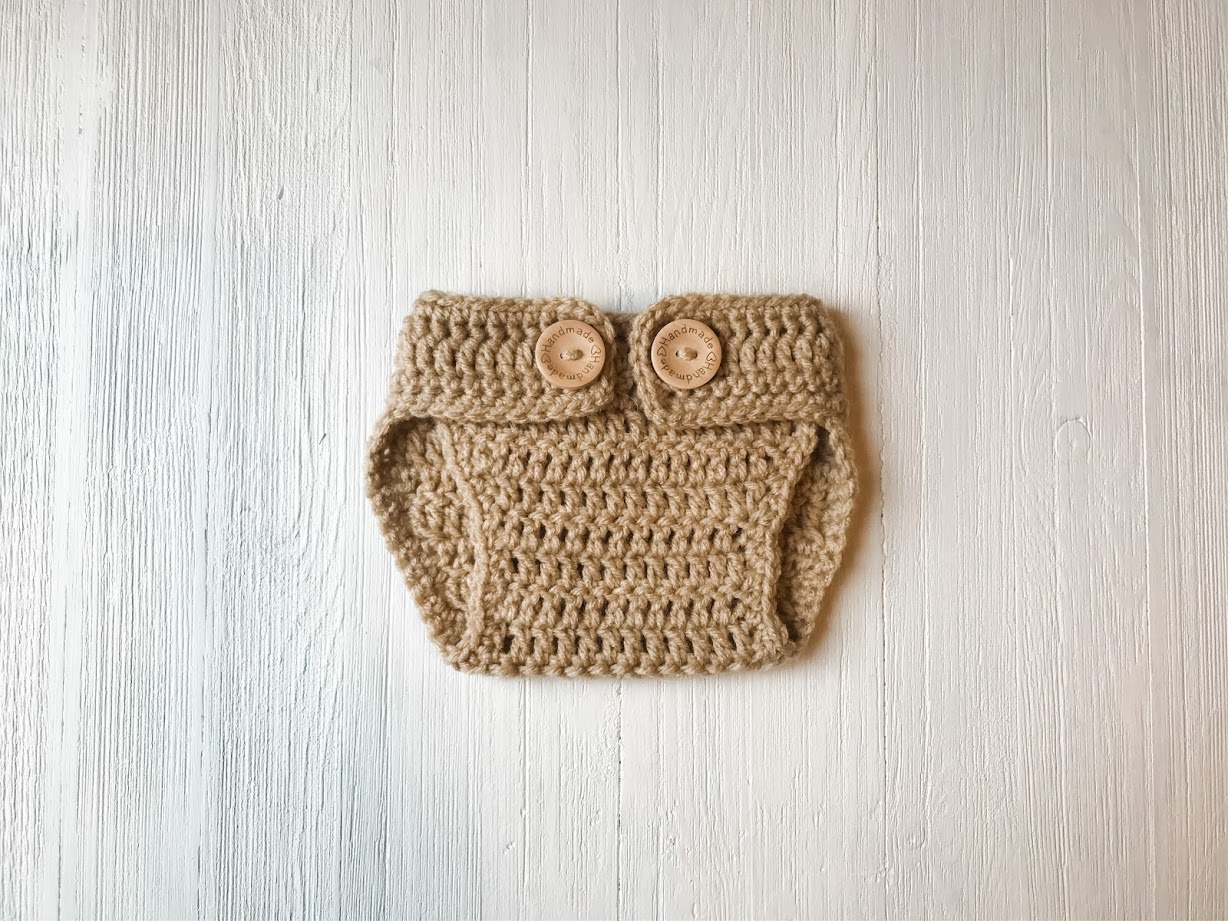
Diaper Covers are prefect for newborn photo shoots. You can make them in any color using this crochet pattern by Crochet It Creations.
This Diaper Cover is newborn size measuring up to 14″ around hips and 10″ long. It will have a little stretch and could possibly fit up to a 2 month old depending on size. Using 2 buttons it can be tightened for smaller babies.
Pattern is beginner friendly using basic crochet stitches. Double crochet stitches are used, see link under stitches used if you need guidance.
Pair your crochet diaper cover with a matching crochet hat. With the Basic Hat Crochet Pattern, you can make any color of hat. Add front and back post stitches for sustainability on the stretch of the brim or ear flaps.

Newborn Diaper Cover Crochet Pattern
Materials Needed
- H 5mm Crochet Hook
- Medium #4 Weight Yarn
- Scissors
- Tapestry Needle
- 2 – 1” Buttons
Gauge
- 4” square = 14 DC x 8 Rows
Stitches Used/Abbreviations (US Terms)
- SC – Single Crochet
- DC – Double Crochet
- DC2TOG – DOuble Crochet 2 Stitches Together
- Sl St – Slip Stitch
- Ch – Chain
- St(s) – Stitch(es)
Pattern Notes
- Beginning chain DOES NOT count as a stitch
- Diaper cover is for newborn size up to 3 months.
- Dimensions – 10”L x fit up to 14” around hips

Ch 45
Row 1: SC in 2nd ch from hook and across, turn. (44)
Row 2: Ch 2, DC across, turn. (44)
Row 3: Ch 1, SC across, turn. (44)
Row 4: Sl St in 10 sts, Ch 2, DC next st, DC next 23 sts, leave remaining sts unworked, turn. (24)
Row 5: Ch 2, DC across, turn. (24)
Row 6: Ch 2, DC2TOG, DC in 20 sts, DC2TOG, turn. (22)
Row 7: Ch 2, DC2TOG, DC in 18 sts, DC2TOG, turn. (20)
Row 8: Ch 2, DC2TOG, DC in 16 sts, DC2TOG, turn. (18)
Row 9: Ch 2, DC2TOG, DC in 14 sts, DC2TOG, turn. (16)
Row 10: Ch 2, DC2TOG, DC in 12 sts, DC2TOG, turn. (14)
Row 11: Ch 2, DC2TOG, DC in 10 sts, DC2TOG, turn. (12)
Row 12 – 15: Ch 2, DC across, turn. (12)
Row 16: Ch 2, 2DC in 1 st, DC in 10 sts, 2DC in last, turn (14)
Row 17: Ch 2, 2DC in 1 st, DC in 12 sts, 2DC in last, turn (16)
Row 18: Ch 2, 2DC in 1 st, DC in 14 sts, 2DC in last, turn (18)
Row 19 – 20: Ch 2, DC across, do not finish off. (18)
Turn, ch 1, SC around, join, finish off, weave in ends.
Photo 1: Finished Diaper Cover with SC Border
Place 2 buttons on the front of the diaper cover. Use the DC row from the flaps as button holes.
Photo 2: Buttons in Center
Save for later or share with others using the share buttons at the top and bottom of post. If you have any questions please comment below or you can email me at jessica@crochetitcreations.com.
I love to see photos of your work and read your comments. Follow Crochet It Creations on all of your favorite social media sites! Join my Crochet It Creations Crochet Friends Facebook group to further connect!
You may sell your items made from my patterns. Please do not use my photos as your own to sell your work. A link back to my site is much appreciated when selling your items from my patterns. I hope you enjoy!
This site is supported by advertisers and may contain affiliate links. See copyright & disclosure policy here for more information.


[…] to the full article about the pattern and to the photos: Newborn Diaper Cover, more info […]
I’ve made two of these already. I did however make it a bit smaller to fit a baby born doll. I absolutely love your patterns and am excited to try more of them.
I am making two for my friends who live in different states <3
[…] the original free pattern on crochetitcreations.com, or read more about it on […]
[…] the original free pattern on crochetitcreations.com, or read more about it on […]