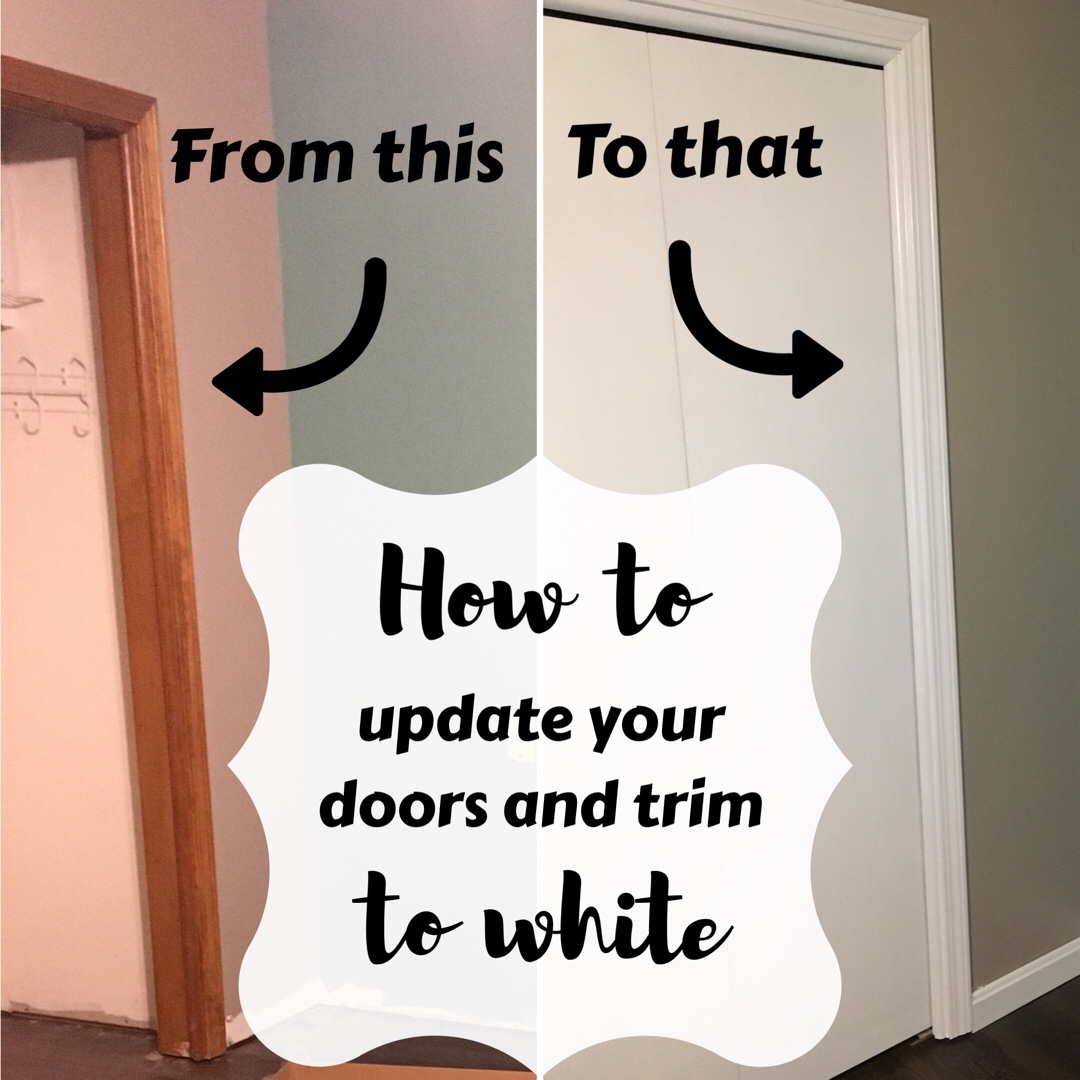
Have you been wanting to update your home’s wood trim to white, but not sure where to start??? Keep reading for my DIY tips on how to paint your trim and doors white!

Our home was built in the 90’s. It is full of oak trim, doors, and cabinets. Our home also has a lot of gold… I am slowly trying to update the paint colors and other details of the home.
I started out with painting our kitchen and removing the wallpaper/border. Removing wallpaper is such a pain and thankfully I only have a few rooms with border left, which 2 are bathrooms. I plan on writing up a post about my tips for removing wallpaper, but for now I’ll let you in on my secret!
Pull off the outer layer of the wallpaper with your hands. Mix WARM water and about 1/2 cup of fabric softener into a spray bottle. Shake it up and spray it on the adhesive. Immediately begin scraping it off with a puddy knife. The key is to saturate it with the spray and scrape it while it’s wet.
Next, I spray painted our gold light fixture using Rustoleum Metallic spray. See post here of the amazing transformation. Here is the spray that I used in the photo Rust-Oleum 249131 11 oz Universal All Surface Spray Paint, Oil Rubbed Bronze Metallic. It only cost about $10!! A new light would cost much more, and someone with experience to install it. I also used this spray on our gold light coverings. It’s AMAZING!! And looks so much better!

Bathroom paint color is Sherwin Williams Sea Salt
Then, I updated our garage door paint using Minwax Gel Stain. Here is the Gel Stain that I used Minwax 661000000 Gel Stain, quart, Hickory. I wanted something that was durable and looked kind of like wood. The front of our house gets full sun and faces the East. It’s been a year and it looks great! I love this gel stain because it adheres to everything! It works great on wood, fiberglass, and much more. See post here for how I stained the garage door.

Now, my focus is to paint every room in the house. As I go I plan on updating the trim and doors to white. This is going to be a pain, but will be soooo worth it! We have 4 bedrooms, an office, laundry room, storage room, 3 bathrooms, and many closets! That is so many doors and door frames to cover…. It will eventually get done though!
I started out with the first room….my craft room/office! YAY!! This room is about 150sqft and has a double door closet. We first removed the baseboards and let our kids go to town painting. Our kids always ask to help paint, we usually don’t let then because we’re working around baseboards and flooring. But with this room we were replacing the flooring and had already taken the baseboards off. I’ll have to say, my kids sure impressed me with their painting skills. And it got done much faster.

Paint colors in photo is Sherwin Williams Perfect Greige and Composed
We pulled up the old carpet and replaced with laminate flooring. Since the baseboards were off I went to work lightly sanding then. I also lightly sanded the door and the closet doors. Clean off the dust and they’re ready for some paint!
I LOVE Sherwin Williams paints! I knew that they would have exactly what I wanted for the white trim. I purchased this Multi-Purpose Latex Primer and ProClassic Smooth Enamel Finish for Trim and Doors. You have the option to chose your color, but the paint already comes in Extra White. After looking at the color cards in the store, I decided that the Extra White was the best.

The Extra White is a perfect color for trim and doors! It’s not bright white, but not dull either. It’s like a classic white. We usually go with Satin finish on our walls, just because that’s what I prefer. The worker at Sherwin Williams advised me to go with an opposite finish for the trim than what is on our walls. I went with a Semi-Gloss and it’s sooo pretty! It looks perfect against the new paint.

Materials I used
- Sherwin Williams Multi-Purpose Latex Primer…1 gallon goes a looong way
- Sherwin Williams ProClassic Smooth Enamel Finish for Trim and Doors in Extra White (the base color in the paint)
- Purdy Flat Brush
– The ONLY brand of paint brushes I will use!
- Medium or fine sandpaper sheets
- wide puddy knife
Here’s the process…
- Lightly sand the surface, then clean it off.
- Apply 1 coat of primer to the surface. Allow to completely dry. I would say at least 4-6 hours.
- Apply 1 coat of ProClassic Paint. Allow to dry completely
- Apply another coat or repeat process as many times as needed. Allow to dry completely between coats!
- That’s it!
My trim took 2 coats of paint and my doors took about 3, in addition to the 1 coat of primer. A little paint goes a long way. I did the whole craft room and only used about 1/8 of the primer and 1/4 of the paint.
If you are able to remove the baseboards, it is best. Place them up on horses while painting. If you cannot remove them, I suggest to not use painters tape. Here is why…
I never use painters tape when painting. I simply use my angled Purdy brush and use the angle along the edge. It makes a smooth finish. I decided to use painters tape on my door frames and completely regretted it! I allowed the trim paint to completely dry and gently removed the tape. Well there went all of my paint from the walls and I had to fix it! It also was also a pain to get off in some areas.

I suggest to use a wide puddy knife, place it up against the wall next to the trim where you will be painting. Brush on the edges of the trim with the puddy knife covering the wall. It will get on the puddy knife and not your wall, and no ripping paint off!!
That’s it! I hope you enjoy this post! If you have any questions I am happy to help.
These are all my personal opinions based on my personal experience. I am in no way receiving commission from Sherwin Williams, Purdy, or any other brand mentioned. These are simply the brands I prefer to use. Some of the links posted, such as to Amazon, are affiliate links. I may receive a small commission if a purchase is made.
Save for later or share with others using the share buttons at the top and bottom of post. If you have any questions please comment below or you can email me. I love to see photos of your work and read your comments. Follow Crochet It Creations on all of your favorite social media sites!
This site is supported by advertisers and may contain affiliate links. See copyright & disclosure policy here for more information.


We have the 90s oak trim and hollow core doors also. It is a 1550 sqft home. We keep saying we want to do this, but it feels like a lot of work. Plus, the window casings. Oh boy! How long does a project like this take and what kind of money are we talking?
We are still working on this, going on 2 years. But haven’t really done mind this year. We have a 2 story house about 2600 sq ft. It’s a lot of work but looks so good!
Great info. Using a putty knife instead of tape is very clever.
How are your baseboards holding up? I am debating on painting over all of my oak in my 90’s house. I am just worried how it will hold up to my kids and dogs.
They look great! I have had to touch up a few high traffic areas but love the white look so much.