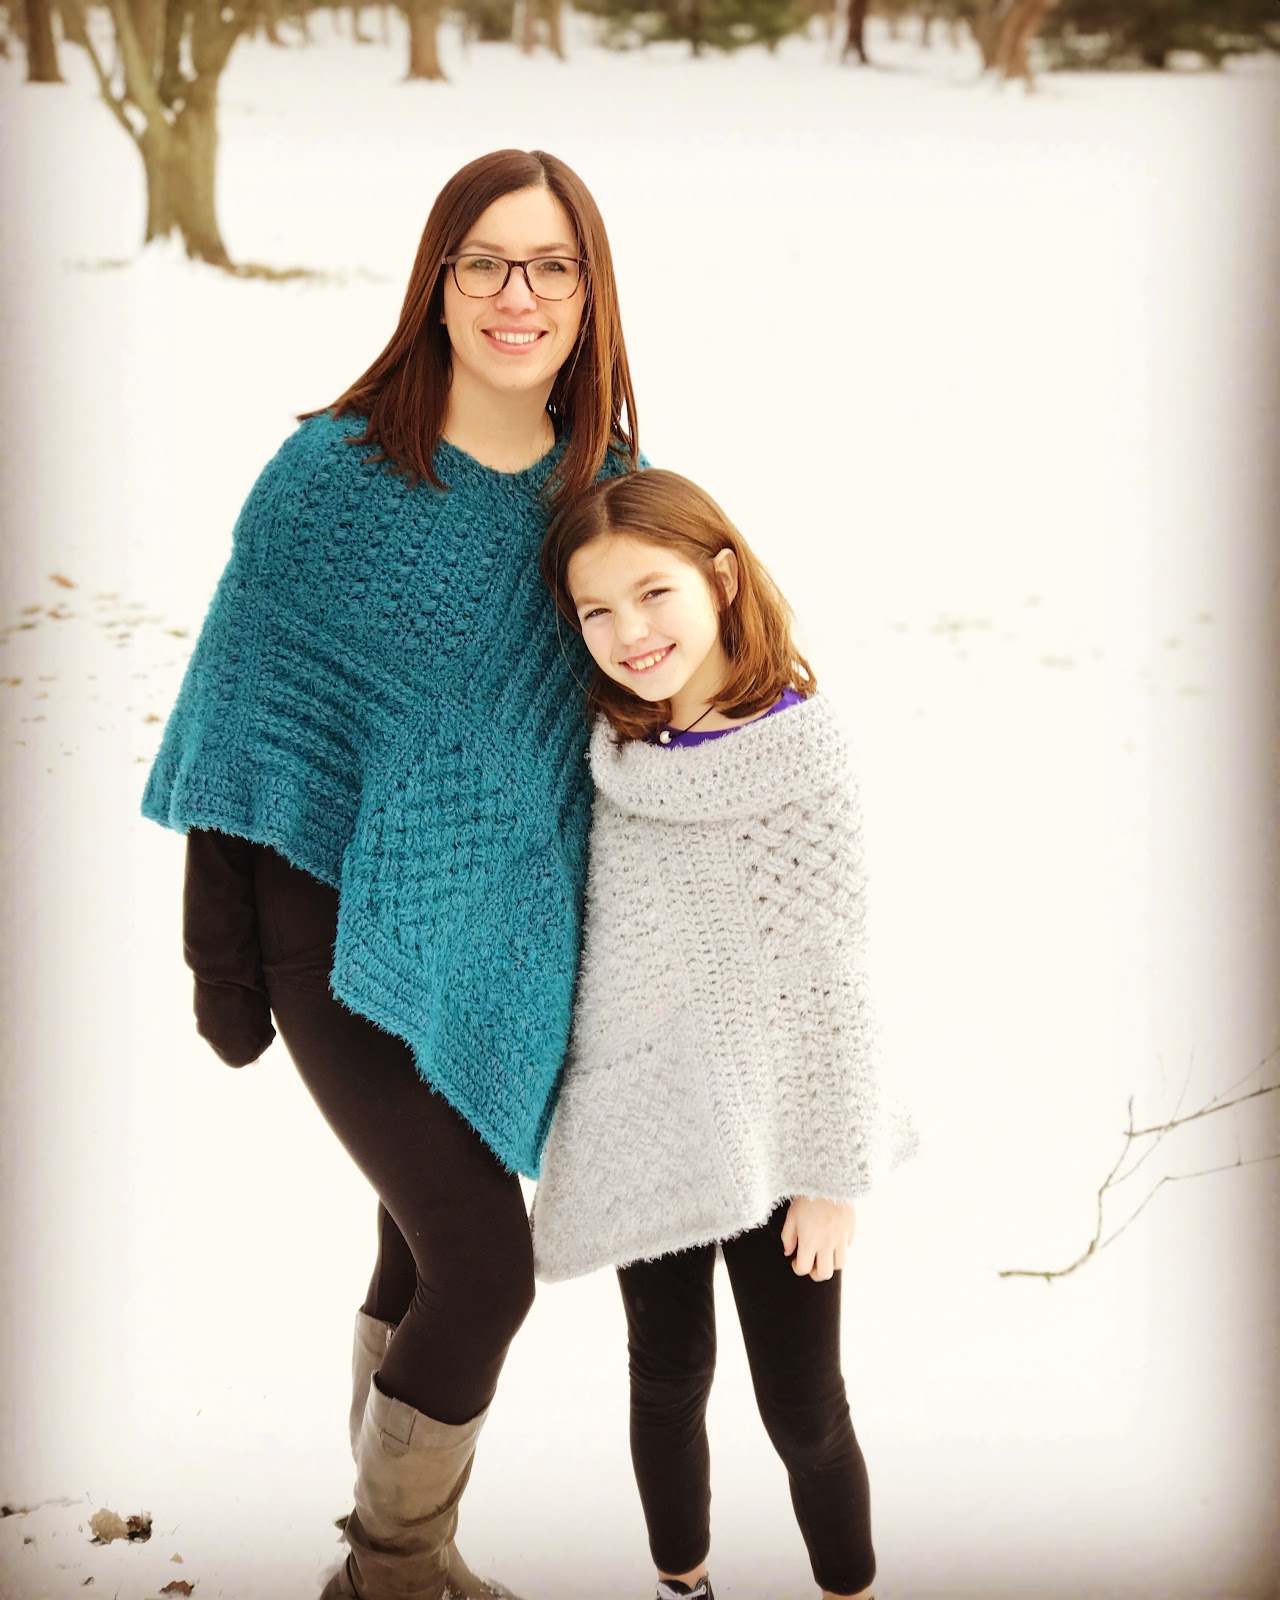
The Square Sampler Poncho is a crochet pattern using multiple different textured squares. The pattern comes in child and adult sizes. This post includes the Adult Size only. See the Child Size HERE, which is for an older child, about 10 and up.
Pattern is written for 3 different square styles. Work up 16 squares in any of the 3 variations for the adult size. The squares are then sewn together. Pattern includes options for with and without the cowl neck.
Pattern uses Red Heart Soft Essentials or Hygge Yarn, which is a bulky #5. Both are very soft and warm. Hygge is a luscious, soft yarn. It is twisted with short fur end, which can make the textured stitches hard to see at times. Soft Essentials is a bulky acrylic yarn. It is similar to the Red Heart Soft, which is a Medium #4 yarn. If you are wanting to use a different yarn, check yarnsub.com for similar.
I am 5″3 and the poncho met right at my mid forearm. If you are taller and would like to add more length to the poncho, add extra rows to the outside border.
Square Sampler Poncho Adult Size Crochet Pattern by Crochet it Creations
Materials Needed
- K 6.5mm Crochet Hook
- Red Heart Hygge or Soft Essentials #5 Bulky Yarn – 8 skeins for adult
- Scissors
- Tapestry Needle
- Stitch Markers
Gauge
- 4” square = 10 DC x 6 rows
Stitches Used/Abbreviations (US Terms)
- DC – Double Crochet
- SC – Single Crochet
- FPDC – Front Post Double Crochet
- BPDC – Back Post Double Crochet
- FPTR – Front Post Treble Crochet
- BPTR – Back Post Treble Crochet
- Bean Stitch – insert Hook into stitch, yarn over pull up a loop, yarn over insert into same stitch, yarn over pull up a loop, yarn over insert into stitch again, yarn over pull up a loop. Yarn over and pull through all 6 loops on the hook. Chain 1, which always done after.
- DC2TOG – Double Crochet Together
- Join – slip stitch to the first stitch
- WS – Wrong Side
- RS – Right Side
Pattern Notes
- Each square measures approximately 8.5” square, before blocking.
- Start each square with a foundation row, see HERE how to make them. Use a chain 3 at the beginning of each foundation row to count as a DC.
- Use a chainless standing double crochet at the beginning of each row instead of a chain 3 to count as a stitch. This looks more natural and prevents from having a gap.
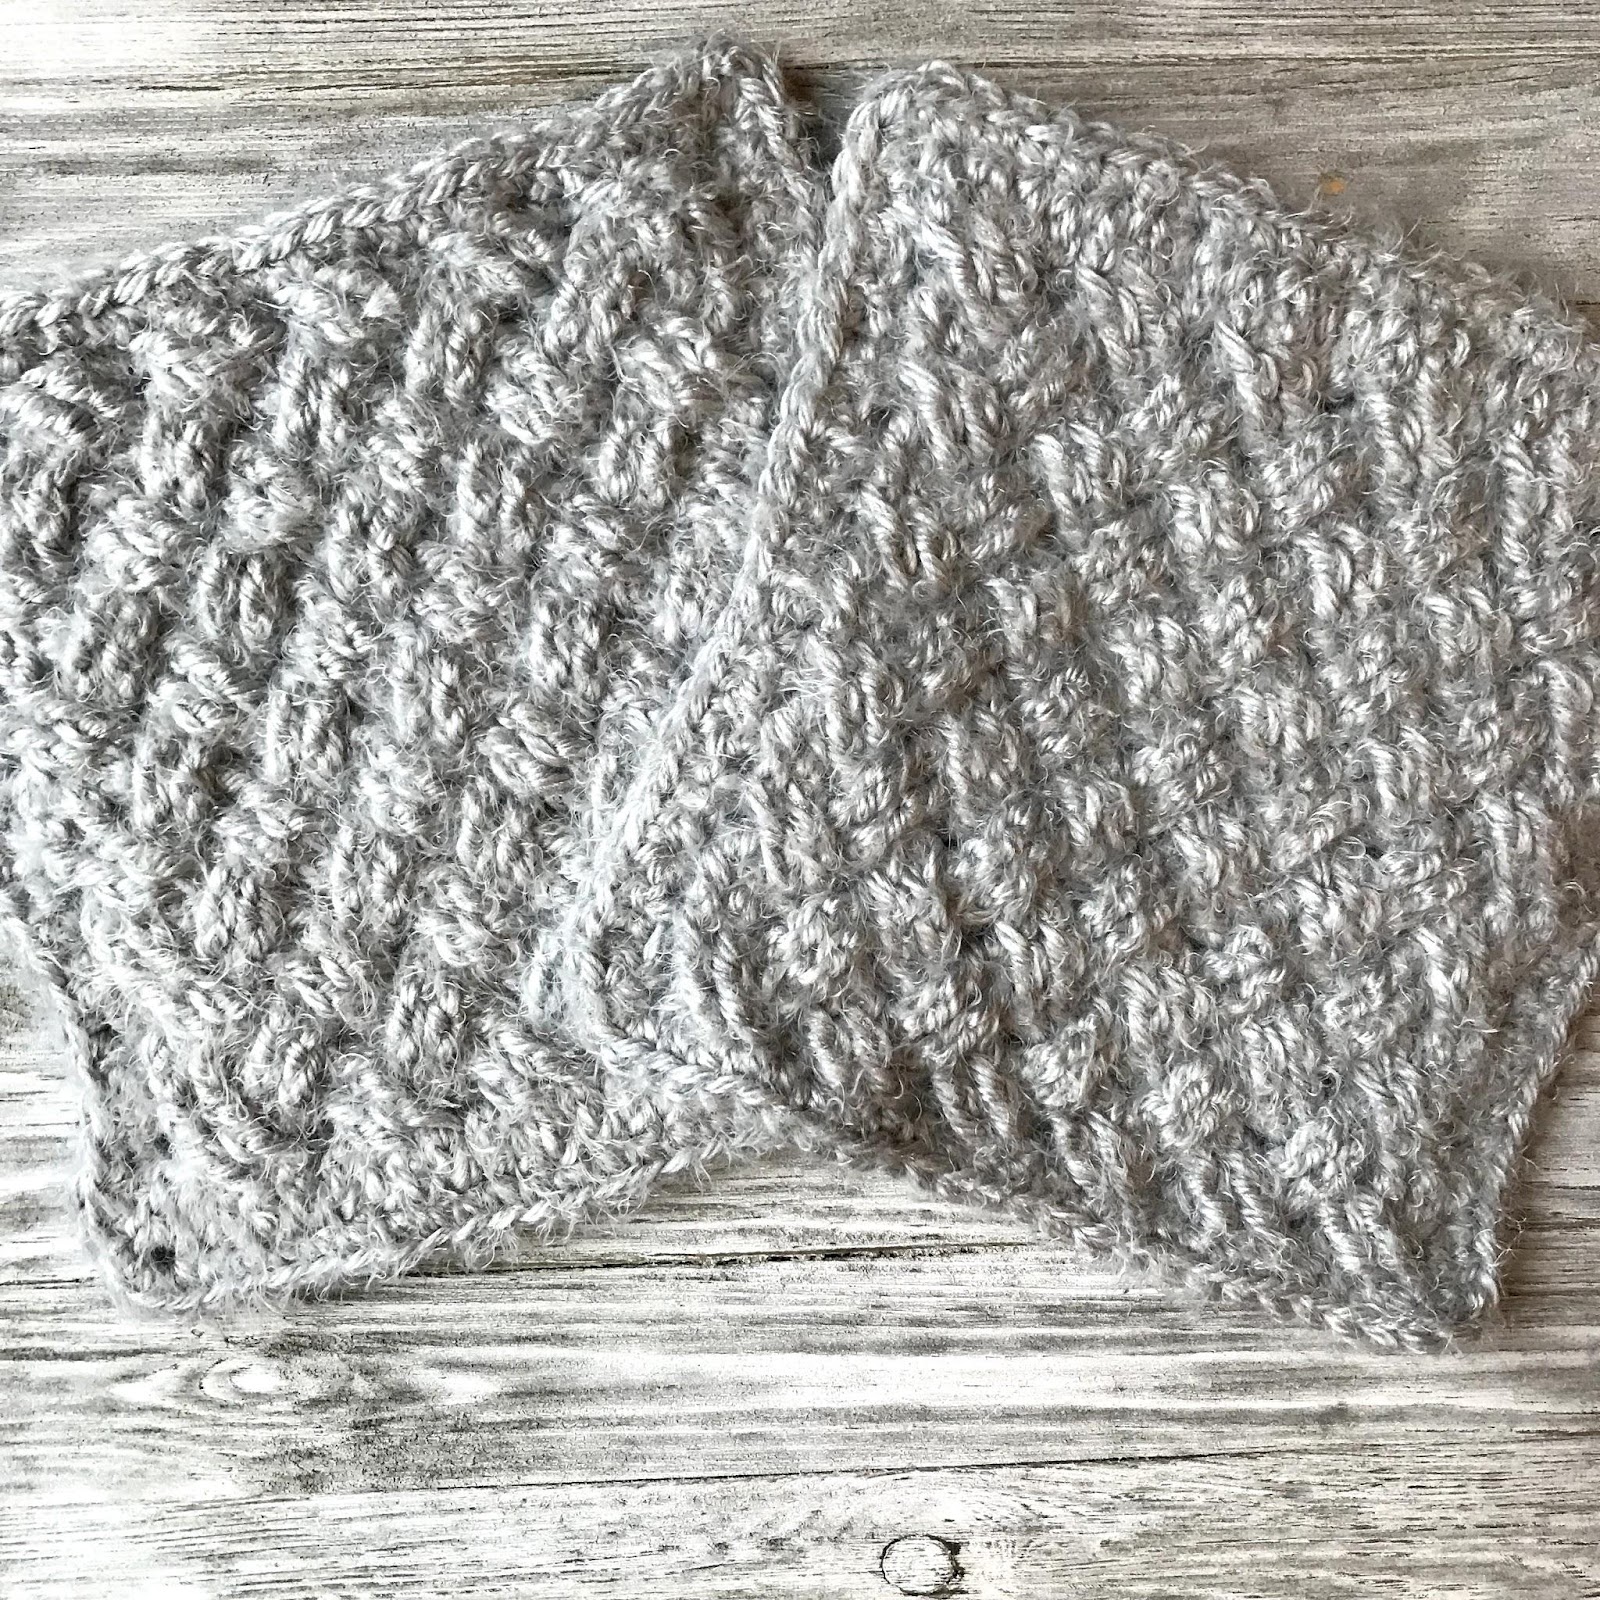
- More photos are included at the end of the pattern for more guidance on each square.
- Make poncho longer by adding extra rows of border at the end.
Adult Size – make 16 squares in any variety of the square patterns below
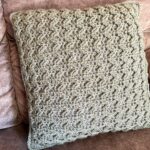
Square 1 – Post Stitches
Row 1 (WS): Foundation DC 20 (20) turn
Row 2 (RS): Chainless standing DC in 1st stitch (or ch 3 to count as DC). *FPDC in 2 stitches. DC in next 2 stitches.* repeat across. End with DC in last st. (20) turn
Row 3 (WS): Chainless standing DC in 1st stitch. *BPDC in 2 stitches. DC in next 2 stitches.* repeat across. End with DC in last st. (20) turn
Rows 4 – 12: repeat rows 2 & 3
Ch 1, SC around entire parameter with placing 3 SC in the corners. Finish off.
Square 2 – Celtic Weave
Row 1 (WS): foundation DC 22 (22) turn
Row 2 (RS): Chainless standing DC in 1st stitch (or ch 3 to count as DC). *sk 2 st. FPTR in next 2 st. Cross in front of stitches just made and FPTR in 2 stitches skipped.* repeat across. DC in last st. (22) turn
Row 3 (WS): Chainless standing DC. BPDC in 2 stitches. *Sk 2 st. BPTC in 2 stitches. Cross behind stitches just made and BPTC in 2 skipped stitch.* repeat across until 3 stitches remain. BPDC in 2 stitches. DC in last st. (22) turn
Rows 4 – 12: repeat rows 2 & 3.
Ch 1, SC around entire parameter with placing 3 SC in the corners. Finish off.
Square 3 – Bean Stitch

Row 1 (RS): foundation DC 20 (20) turn
Row 2 (WS): Chainless standing DC in 1st stitch. *Bean stitch in next. Skip 1 st.* repeat across. DC in last stitch. Turn
Row 3 (RS): Chainless DC in 1st stitch. DC in each stitch and ch 1 across (20) turn
Rows 4 – 12: repeat rows 2 & 3
Adult Size Poncho Construction
After you have made the 16 squares, lay them out in the order you prefer, 2×4 squares long. Use stitch markers to hold together. Wet block the squares by spraying them with water. Allow to dry completely. Wet blocking allows the squares to “even out”. I use a foam mat when wet blocking, it allows me to pin in place if needed. Hand sew squares together with whip stitching.
Flip both panels wrong side up and place in an L shape with a horizontal panel on the left and the other vertical on the right. Sew the 2 panels together in the L shape.

Fold left side of the panel over the right. Fold down the top side where it meets up to the side of the panel just folded. Hand sew the sides together.

This leaves a small V open at the top for the neck hole and the bottom V is open for the bottom of the poncho.
Sl St to join at the bottom of poncho for border.
Row 1: Ch 2 (does not count as a stitch), *DC in 4 stitches, DC2TOG in next* repeat around, placing 3 DC in each corner. Join.
Row 2 – 3: Ch 2 (does not count as a stitch), DC in each stitch around. Join
Row 4: Ch 1, sc around. Join. Finish off.
Sl St to the neck hole.
Row 1: Ch 2 (does not count as a stitch), *DC in 1 st, DC2TOG in next* repeat around. Join.
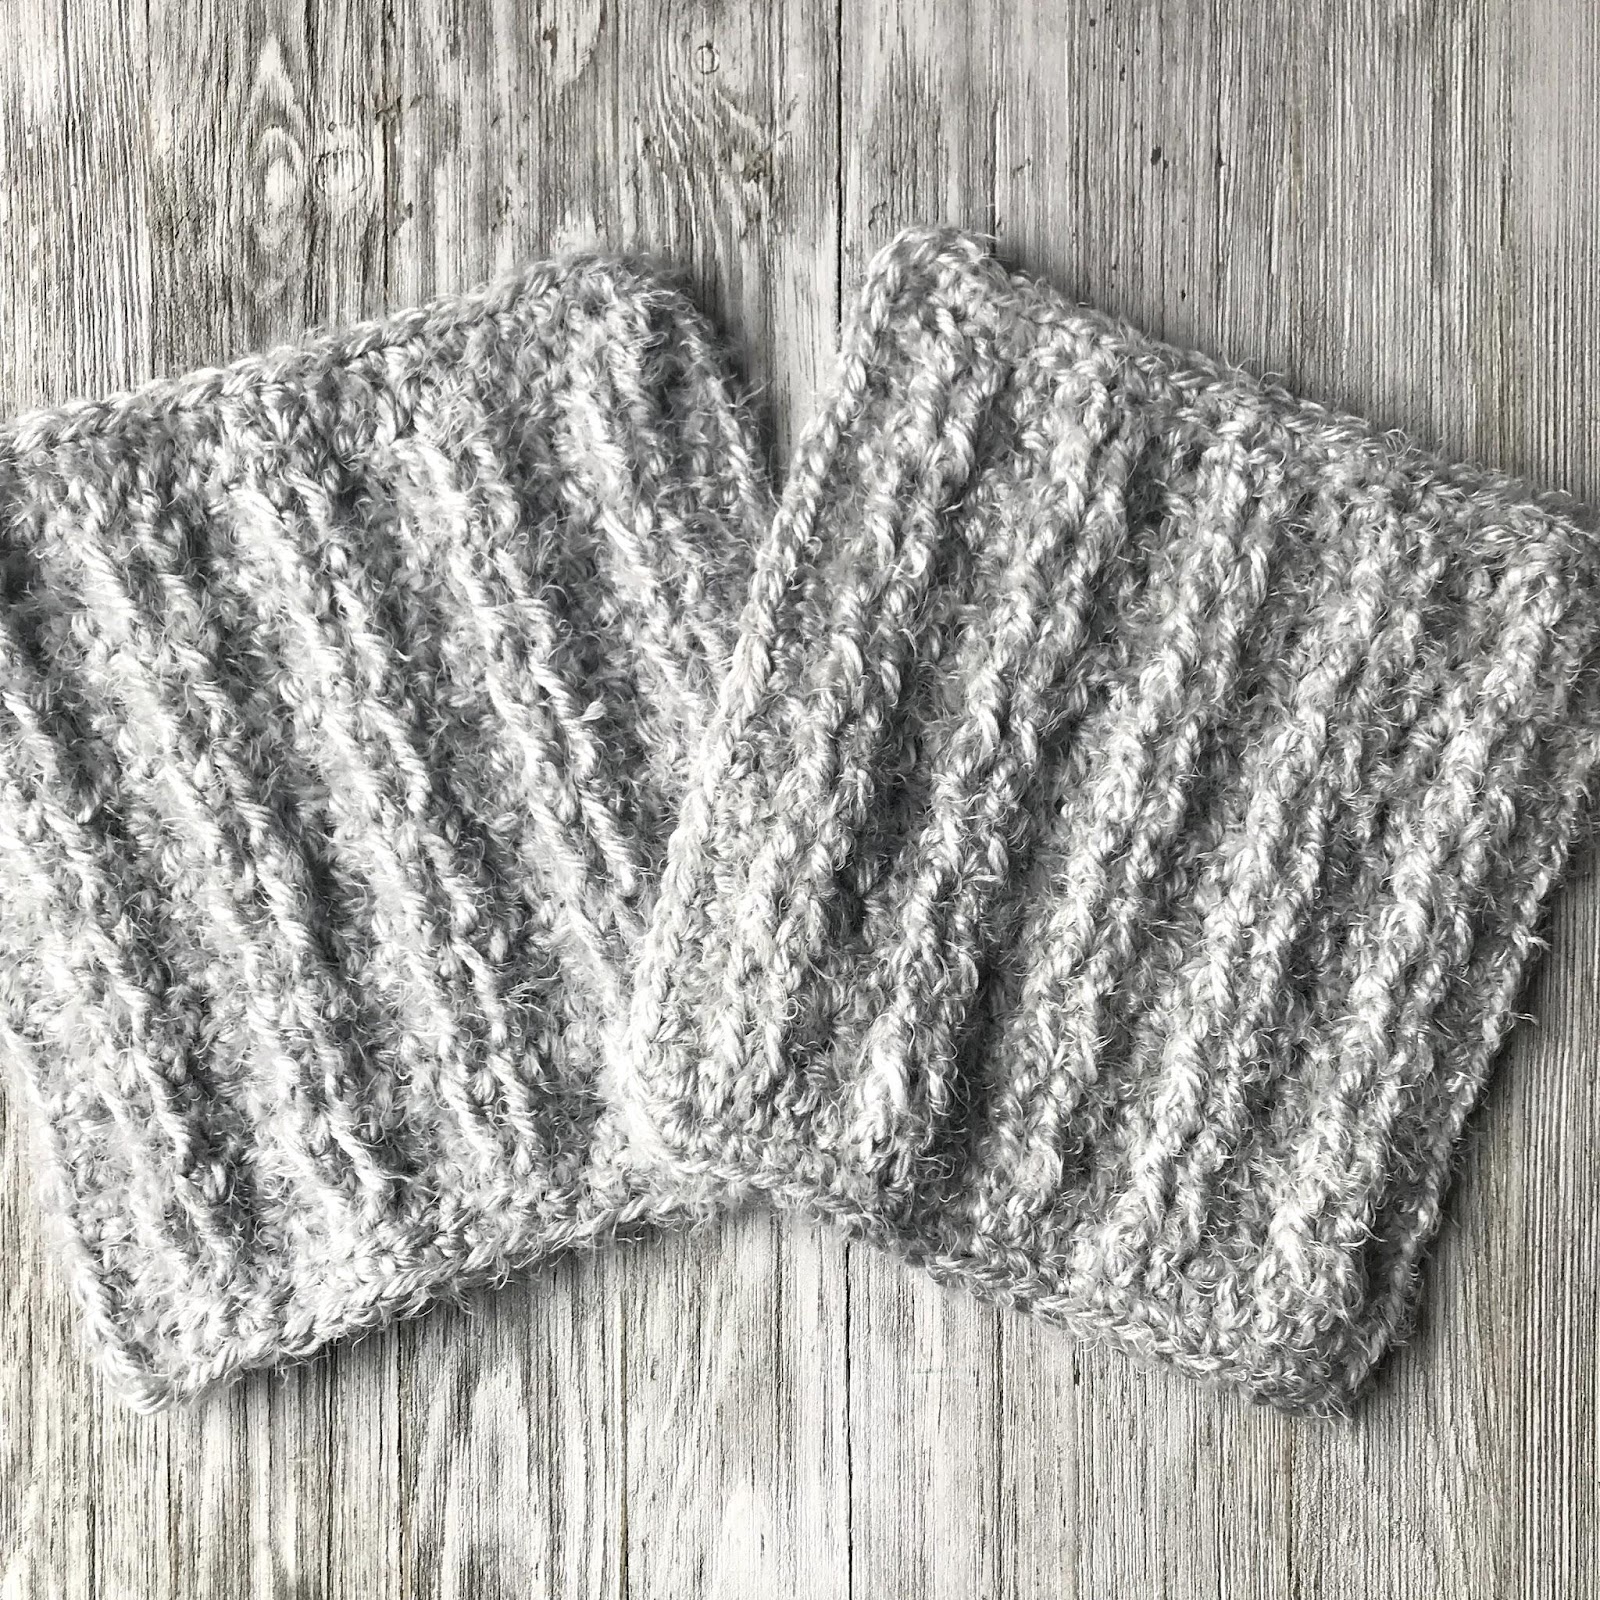
Continue to Cowl Neck OR add 2 more rows of DC.
Row 2 – 3: Ch 2 (does not count as a stitch), *DC in 1 st, DC2TOG in next* repeat around. Join.
Add Cowl Neck
Row 1 – 14: Ch 2 (does not count as stitch). DC in same stitch and each stitch around. Join to top of 1st DC. Finish off, weave in all ends.
Find the Child Size pattern HERE.
Save for later or share with others using the share buttons at the top and bottom of post. If you have any questions please comment below or you can email me at jessica@crochetitcreations.com.
I love to see photos of your work and read your comments. Follow Crochet It Creations on all of your favorite social media sites! Join my Crochet It Creations Crochet Friends Facebook group to further connect!
You may sell your items made from my patterns. Please do not use my photos as your own to sell your work. A link back to my site is much appreciated when selling your items from my patterns. I hope you enjoy!
This site is supported by advertisers and may contain affiliate links. See copyright & disclosure policy here for more information.