Prefer a PDF version to print? Click Here —-> 
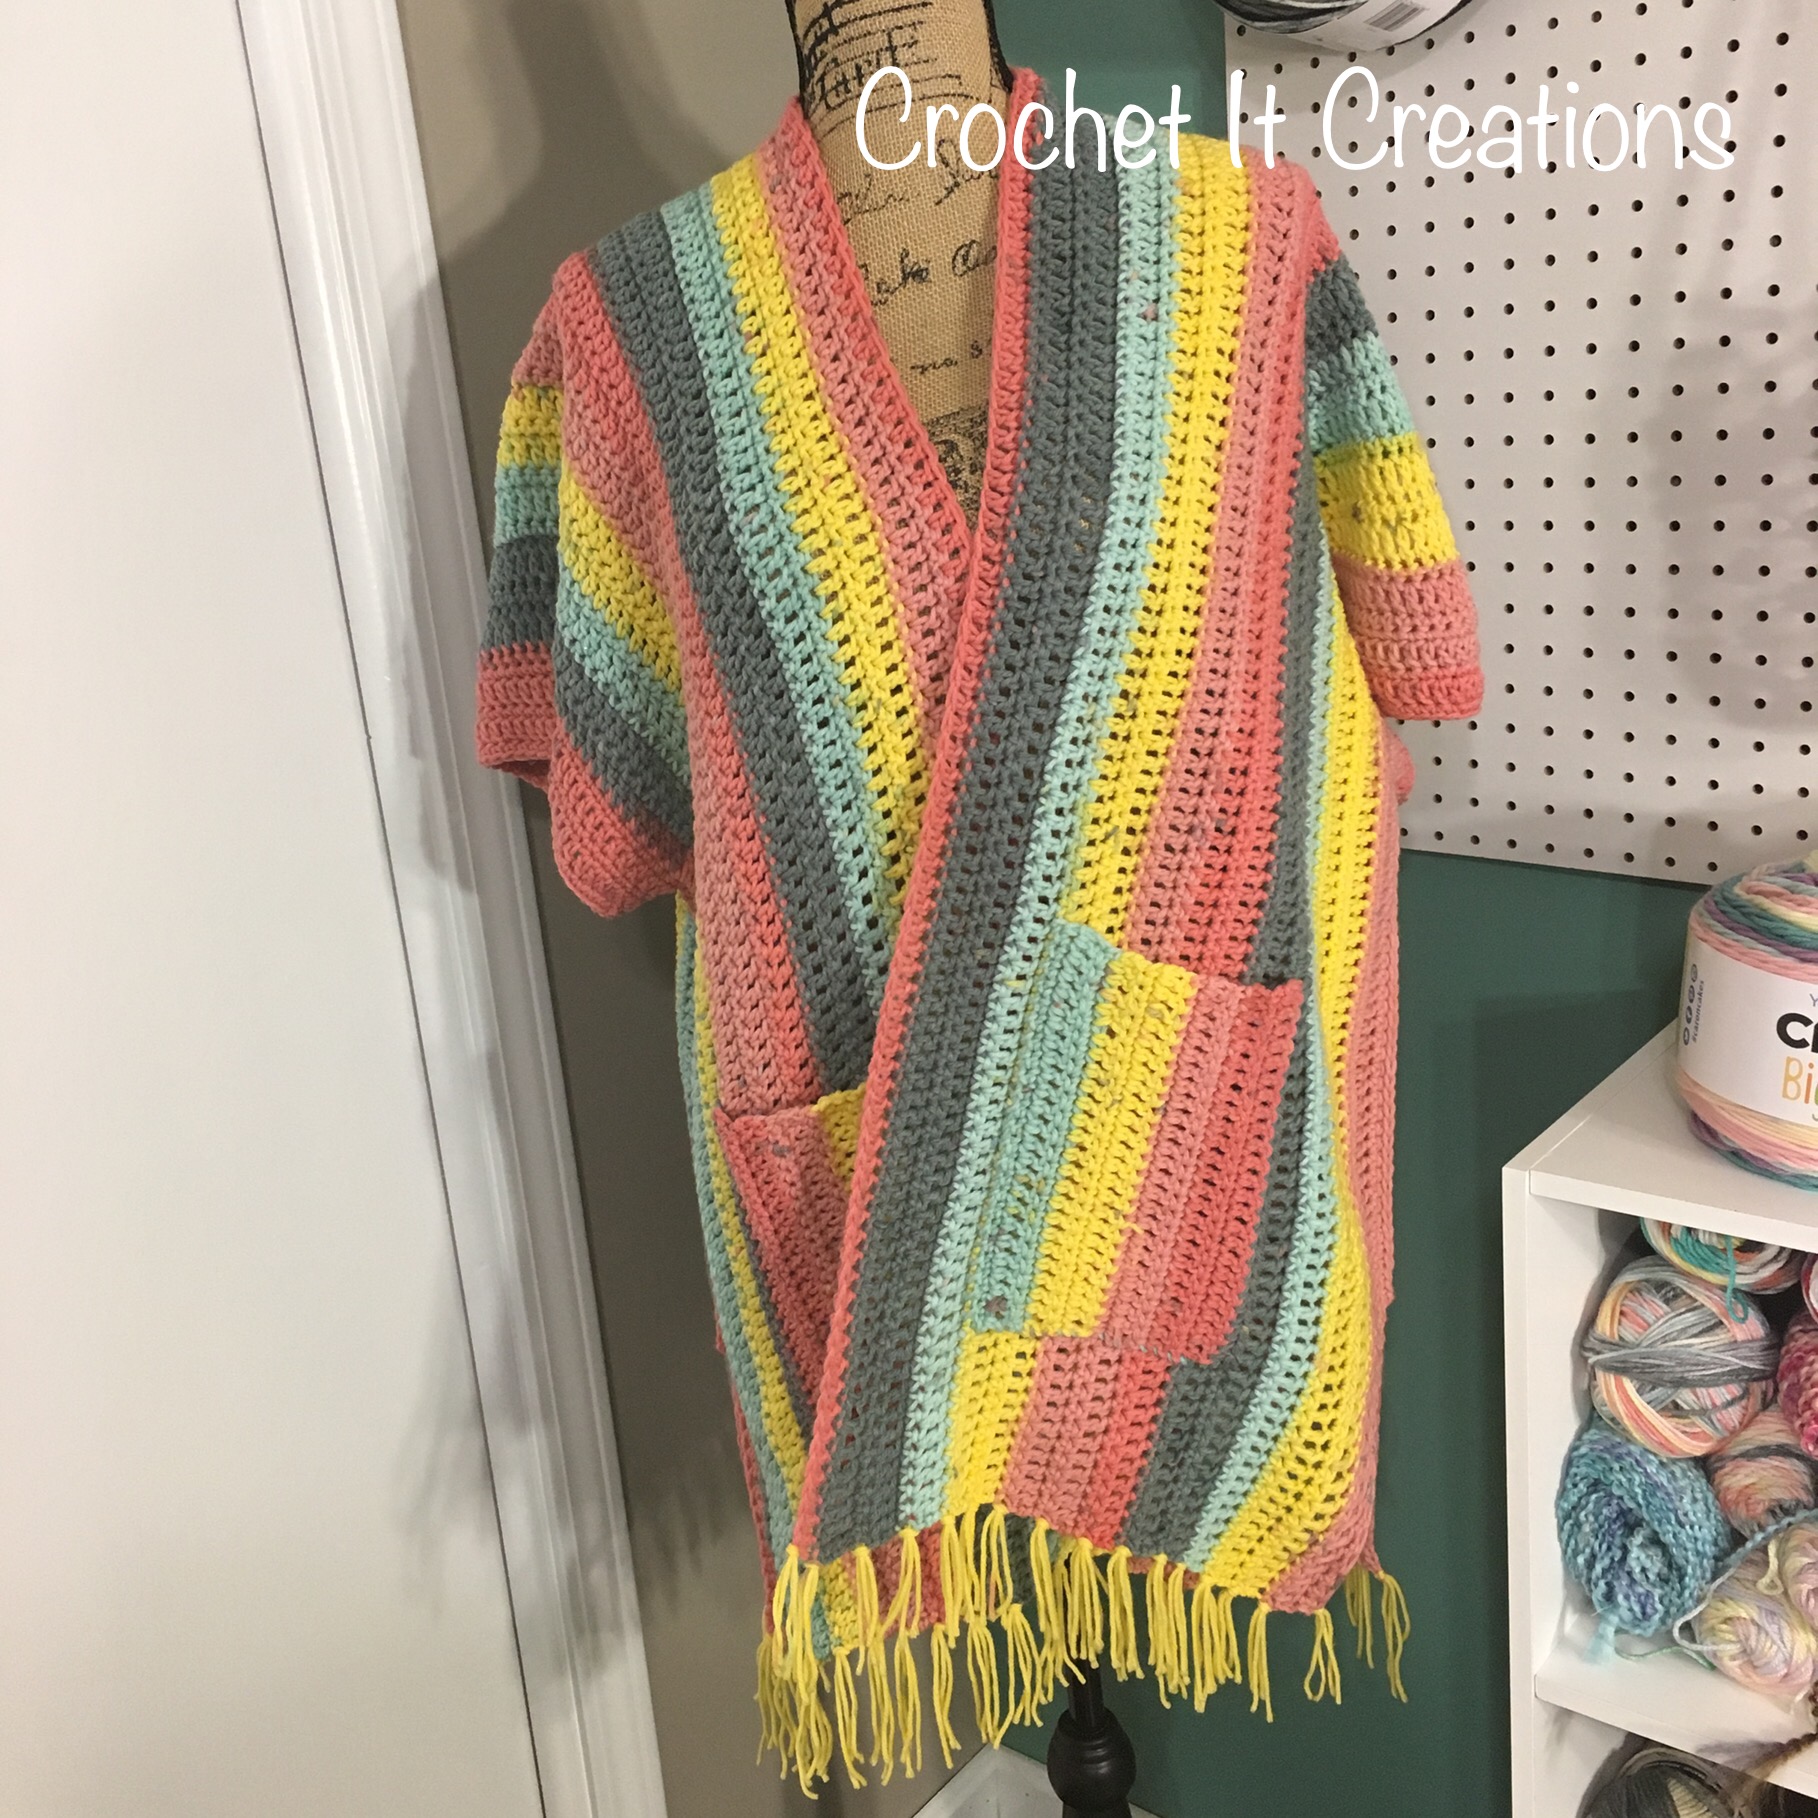
This pattern screams cool summer nights! Maybe those nights are sitting around the campfire, sitting at the baseball field, or whatever else you may be doing outdoors! It’s a blanket, it’s a wrap, it’s a cardigan, it’s a ruana, it’s whatever you want it to be! But most importantly it’s all yours
The Summer Nights Wrap is a simple pattern. It is constructed in one piece with option to stitch up the sides and sew on pockets! Add fringe or tassels. Make it your own!

Summer Nights Wrap Crochet Pattern by Crochet it Creations
Materials Needed
- Worsted Weight #4 Yarn (2 Caron Big Cakes used in photos, before pockets)
- K 6.5mm Crochet Hook
- Scissors
- Tapestry Needle
- Steamer if Steam Blocking
Stitches Used
- Sc – single crochet
- Dc – double crochet
- Join – slip stitch to first stitch
- Foundation sc, see here how to make foundation rows
Gauge
- 4” x 4” square = 9 rows of the pattern (5dc rows, 4sc rows) x 12 stitches
Pattern Notes
- Pattern is written in U.S. Crochet Terms
- Beginning chain(s) of the row DOES NOT count as a stitch.
- Place first stitch in the same stitch as the join on the sleeve rounds
- Pattern made as a big rectangle with a slit for the front opening. Leave as a blanket or fold in half and close the sides.
- Add fringe and pockets as desired. The possibilities are all your own!
- Steam blocking makes a HUGE difference. See before and after photos at the end of this post and my blog post of why to steam. Steam blocking relaxes the stitches, adds length, and corrects any curling of the corners.
- As written measures approx 27” long (which is in half, from shoulder to bottom) x 27” across BEFORE steam blocking & fringe. Steam blocking adds a few inches.
- I am 5’3” and AFTER steam blocking the blanket wrap was down to my mid thigh. Add stitches to the beginning to lengthen and add rows before and after the slit (row 31) to widen
Summer Nights Wrap Crochet Pattern
Row 1: Foundation sc 160. see here how to make foundation rows (160) ch 2 and turn
Row 2: DC in each st across (160) ch 1 and turn
Row 3: SC in each st across (160) ch 2 and turn
Row 4-30: repeat rows 2 & 3 ending with dc row
Row 31: sc in 80 st, chain 82
Row 32: DC in 3rd ch from hook, dc in each chain and st across (160) ch 1 and turn
Row 33: SC in each st across (160) ch 2 and turn
Row 34: DC in each st across (160) ch 1 and turn
Row 35 – 61: repeat rows 33 & 34 ending with sc row
Finish Off.
Now you have a big rectangle with a slit half way up on one end.

Wear as the sides open, or close up the sides and add to the arm holes. Remember it will relax after steam blocking and lengthen
Closing Sides
Fold in half. Count back 15 stitches from the bottom of both front and back panels that were folded in half. Join to next st through front and back panels to close the sides. ch 1, sc in 35 st working through front and back panels….
Sleeves
Continue to work around arm hole sc in the front panel and around the entire arm hole, 60 sc. Join to first sc of arm hole where you started working in the front panel.
Rnd 2: Ch 2, dc around. Join (60)
Rnd 3: ch 1, sc around. Join (60)
Rnd 4: Ch 2, dc around. Join (60)
Rnd 5: ch 1, sc around. Join. (60) finish off.
This pattern used exactly 2 cakes of Caron Big Cakes at this point. I had a small amount of yellow leftover that I added for fringe.

Add fringe
I have a little trick that I do for adding fringe to make even pieces of yarn without measuring! I use a credit card, notepad, book, whatever I have available and wrap the yarn around it many, many times.
Cut across one side of the notepad or whatever you used. Now you have a nice stack of pretty even pieces of yarn! Without even measuring.
Take 2 pieces of yarn and tie them across the bottom to each sc row. Make sure to go through the middle of a stitch and not just around 1 piece of yarn when tieing. See video here for how I add fringe.
Add Pockets
I wanted a bigger pocket so that I can put my phone or whatever else and it not fall out. These measure about 8.5” tall by 5.5” wide. Make yours whatever size you like.
Make beginning slip knot with long tail for sewing pocket on. Chain 25
Row 1: sc in 2nd ch from hook and each chain across in the back bump of the chain. See here about crocheting in the back bump. (24) ch 2 and turn
Row 2: dc in each stitch across (24) ch 1 and turn
Row 3 – 13: sc in each st across (24) ch 2 and turn. Ends with sc row. Finish off leaving a long tail for sewing on to wrap.
Sew pocket on in area desired. I sewed mine on the 8th row from the center and about 12th stitch from bottom using a whip stitch.

Save for later or share with others using the share buttons at the top and bottom of post. If you have any questions please comment below or you can email me at jessica@crochetitcreations.com.
I love to see photos of your work and read your comments. Follow Crochet It Creations on all of your favorite social media sites! Join my Crochet It Creations Crochet Friends Facebook group to further connect!
You may sell your items made from my patterns. Please do not use my photos as your own to sell your work. A link back to my site is much appreciated when selling your items from my patterns. I hope you enjoy!
This site is supported by advertisers and may contain affiliate links. See copyright & disclosure policy here for more information.