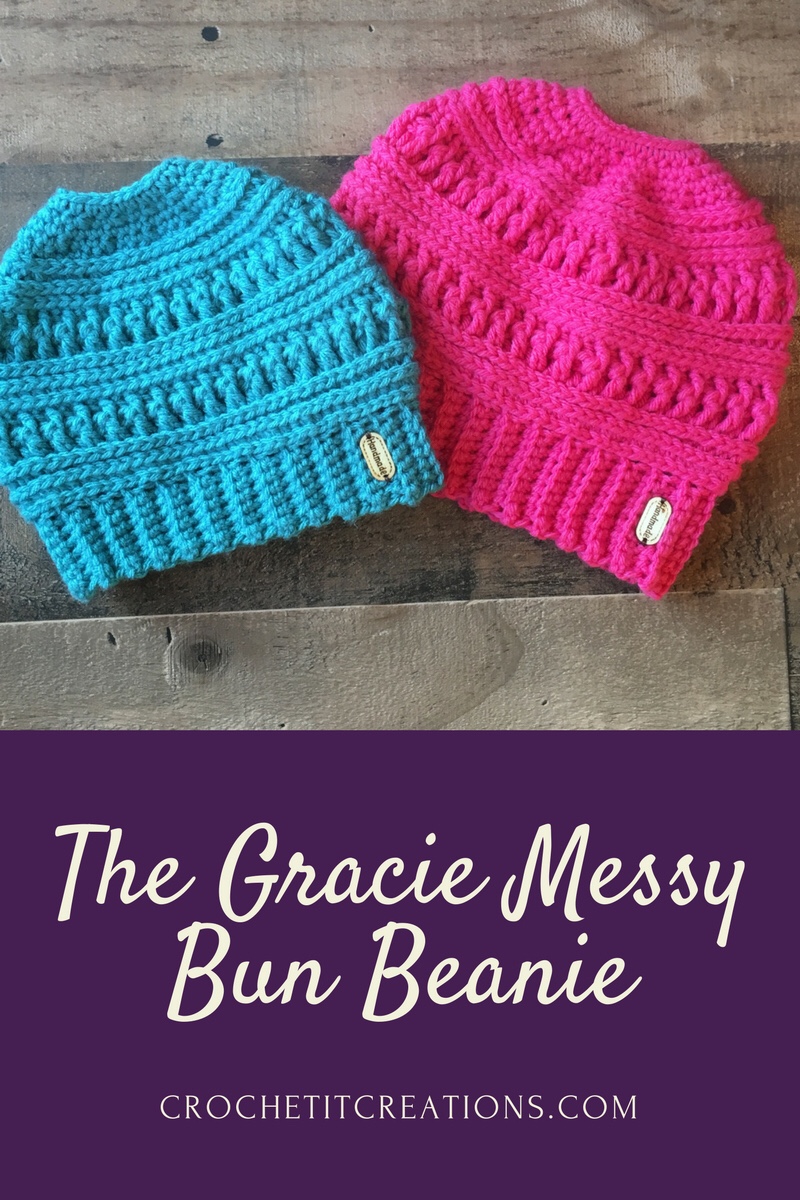
Meet The Ana Beanie’s sister…..The Gracie Messy Bun Beanie. When I was writing the pattern for the Ana Beanie, which has a faux fur pom pom on top, I knew that there needed to be a messy bun beanie version.

Ana Beanies below

Messy Bun Beanies (MBB) are so popular right now! I get requests for them on my facebook business page all the time. The Gracie Messy Bun version will be one of your favorite hats to make this year. The pattern includes child and adult sizes using an H crochet hook. It starts at the brim, then works up adding texture and details. The top has a hole where the messy bun or ponytail sticks out.
Purchase the PDF version from Ravelry, using the link below. The download includes both The Ana and The Gracie hats. If you are looking for more of these beautiful textured stitches. Check out the Ana Infinity Scarf and Ana Ear Warmer crochet patterns.

Gracie Messy Bun Beanie Crochet Pattern
Materials needed
- H 5.00mm crochet Hook, or size needed to obtain gauge
- Medium Weight #4 Yarn – About 200 yds for adult size and 150 yds for child size
- Scissors
- Yarn needle
- Optional: elastic hair band, button or tag
Gauge
- 4″ x 4″ square – 10 rows of the pattern (rows 1-10) x 15 stitches
Stitches Used (US Terms)
- SC – Single Crochet
- HDC – Half Double Crochet
- DC – Double Crochet
- FPDC – Front Post Double Crochet
- BPDC – Back Post Double Crochet
- SC2TOG – Single Crochet 2 Stitches Together
- HDC2TOG – Half Double Crochet 2 Stitches Together
- Join – Slip Stitch to Top of 1st Stitch
- CS – Camel Stitch – Crochet in the back side of the stitch, third loop. This pushes the normal top loops that you would crochet in to the front and creates a chain row in the front of the stitch. This is also called a knit stitch.
- BLO – Back Loop Only
- Ch – Chain
- St(s) – Stitch(es)
Pattern Notes
- Beginning chain DOES NOT count as a stitch. Place first stitch into the stitch joined to
- If you find it difficult to hdc in the back part/camel stitch in the single crochet stitches for row 1, replace it with half double crochet stitches.
- On the camel stitch rows, join to the top of the stitch, not in the third loop. Release your hook from the loop, insert hook in the backside of the st you just joined to. Grab the loop and pull through bringing it to the backside of the stitch. Then ch 1 and begin your row. This cleans it up a little. See video HERE for reducing visibility of the camel stitch joins
Child Size
9.5″W flat x 7.5″ L
Brim
Row 1: Ch 8, SC in 2nd ch from hook and each ch across, turn (7)
Row 2 – 54, or until measures 16” unstretched: Ch 1, SC in BLO across, turn (7)
Do not finish off. Fold the brim in half to create a circle. Close the brim by slip stitching across last to the first row in the BLO. Turn brim right side out and work horizontally along the ends of the brim rows for the body of the hat.
Hat
Rnd 1: Ch 1, SC 72 times around the brim, join (72) One tip to get 72 even around brim, is to add stitch markers every ¼ of the brim. Place 18 sc evenly between each stitch marker.
Rnd 2 & 3: Ch 1, HDC CS (Camel Stitch, see stitches used) around, join (72)
Rnd 4: Ch 2, DC CS around, join (72)
Rnd 5: Ch 2, *FPDC around first st, BPDC around next* Repeat from * to * around, join (72)
Rnd 6: Ch 1, SC around, join (72)
Rnd 7-10: repeat rows 2 – 5
Rnd 11: Ch 1, *SC in 4 sts, SC2TOG* repeat from * to * around, join (60)
Rnd 12: Ch 1, HDC CS around, join (60)
Rnd 13: Ch 1, *HDC CS in 3 sts, HDC2TOG CS* repeat from * to * around, join (48)
Rnd 14: Ch 1, SC CS around, join (48)
Rnd 15: Ch 1, *SC in 2 sts, SC2TOG* repeat from * to around, through normal top loops, join (36)
Rnd 16: Ch 1, SC around, join OR optional to SC around elastic band for stretch. (36)
Adult Size
Measures approximately 10″W flat x 8″L
Brim
Row 1: Ch 9, SC in 2nd ch from Hook and each ch across, turn (8)
Row 2 – 58, or until measures 17” unstretched: Ch 1 SC in BLO across (8)
Do not finish off. Fold the brim in half to create a circle. Close the brim by slip stitching across last to the first row in the BLO. Turn brim right side out and work horizontally along the ends of the brim rows for the body of the hat.
Hat
Rnd 1: Ch 1, SC 84 times around the brim, join (84) One tip to get 84 even around brim, is to add stitch markers every ¼ of the brim. Place 21 sc evenly between each stitch marker.
Rnd 2 & 3: Ch 1, HDC CS (Camel Stitch, see Stitches Used section) around, join (84)
Rnd 4: Ch 2, DC CS around, join (84)
Rnd 5: Ch 2, *FPDC around first st, BPDC around next.* repeat from * to * around, join (84)
Rnd 6: Ch 1, SC around, join (84)
Rnd 7 – 10: repeat rows 2 – 5
Rnd 11: Ch 1, *SC in 5 sts, SC2TOG* repeat from * to around, join (72)
Rnd 12: Ch 1, HDC CS around, join (72)
Rnd 13: Ch 1, *HDC CS in 4 sts, HDC2TOG CS* repeat from * to * around, join (60)
Rnd 14: Ch 1, SC CS around, join (60)
Rnd 15: Ch 1, *SC in 3 sts, SC2TOG* repeat from * to * around, through normal top loops, join (48)
Rnd 16: Ch 1, SC around, join (48)
Rnd 17: Ch 1, *SC in 2 sts, SC2TOG* repeat from * to * around, join (36)
Rnd 18: Ch 1, SC around, join OR optional to SC around elastic band for stretch. (36)
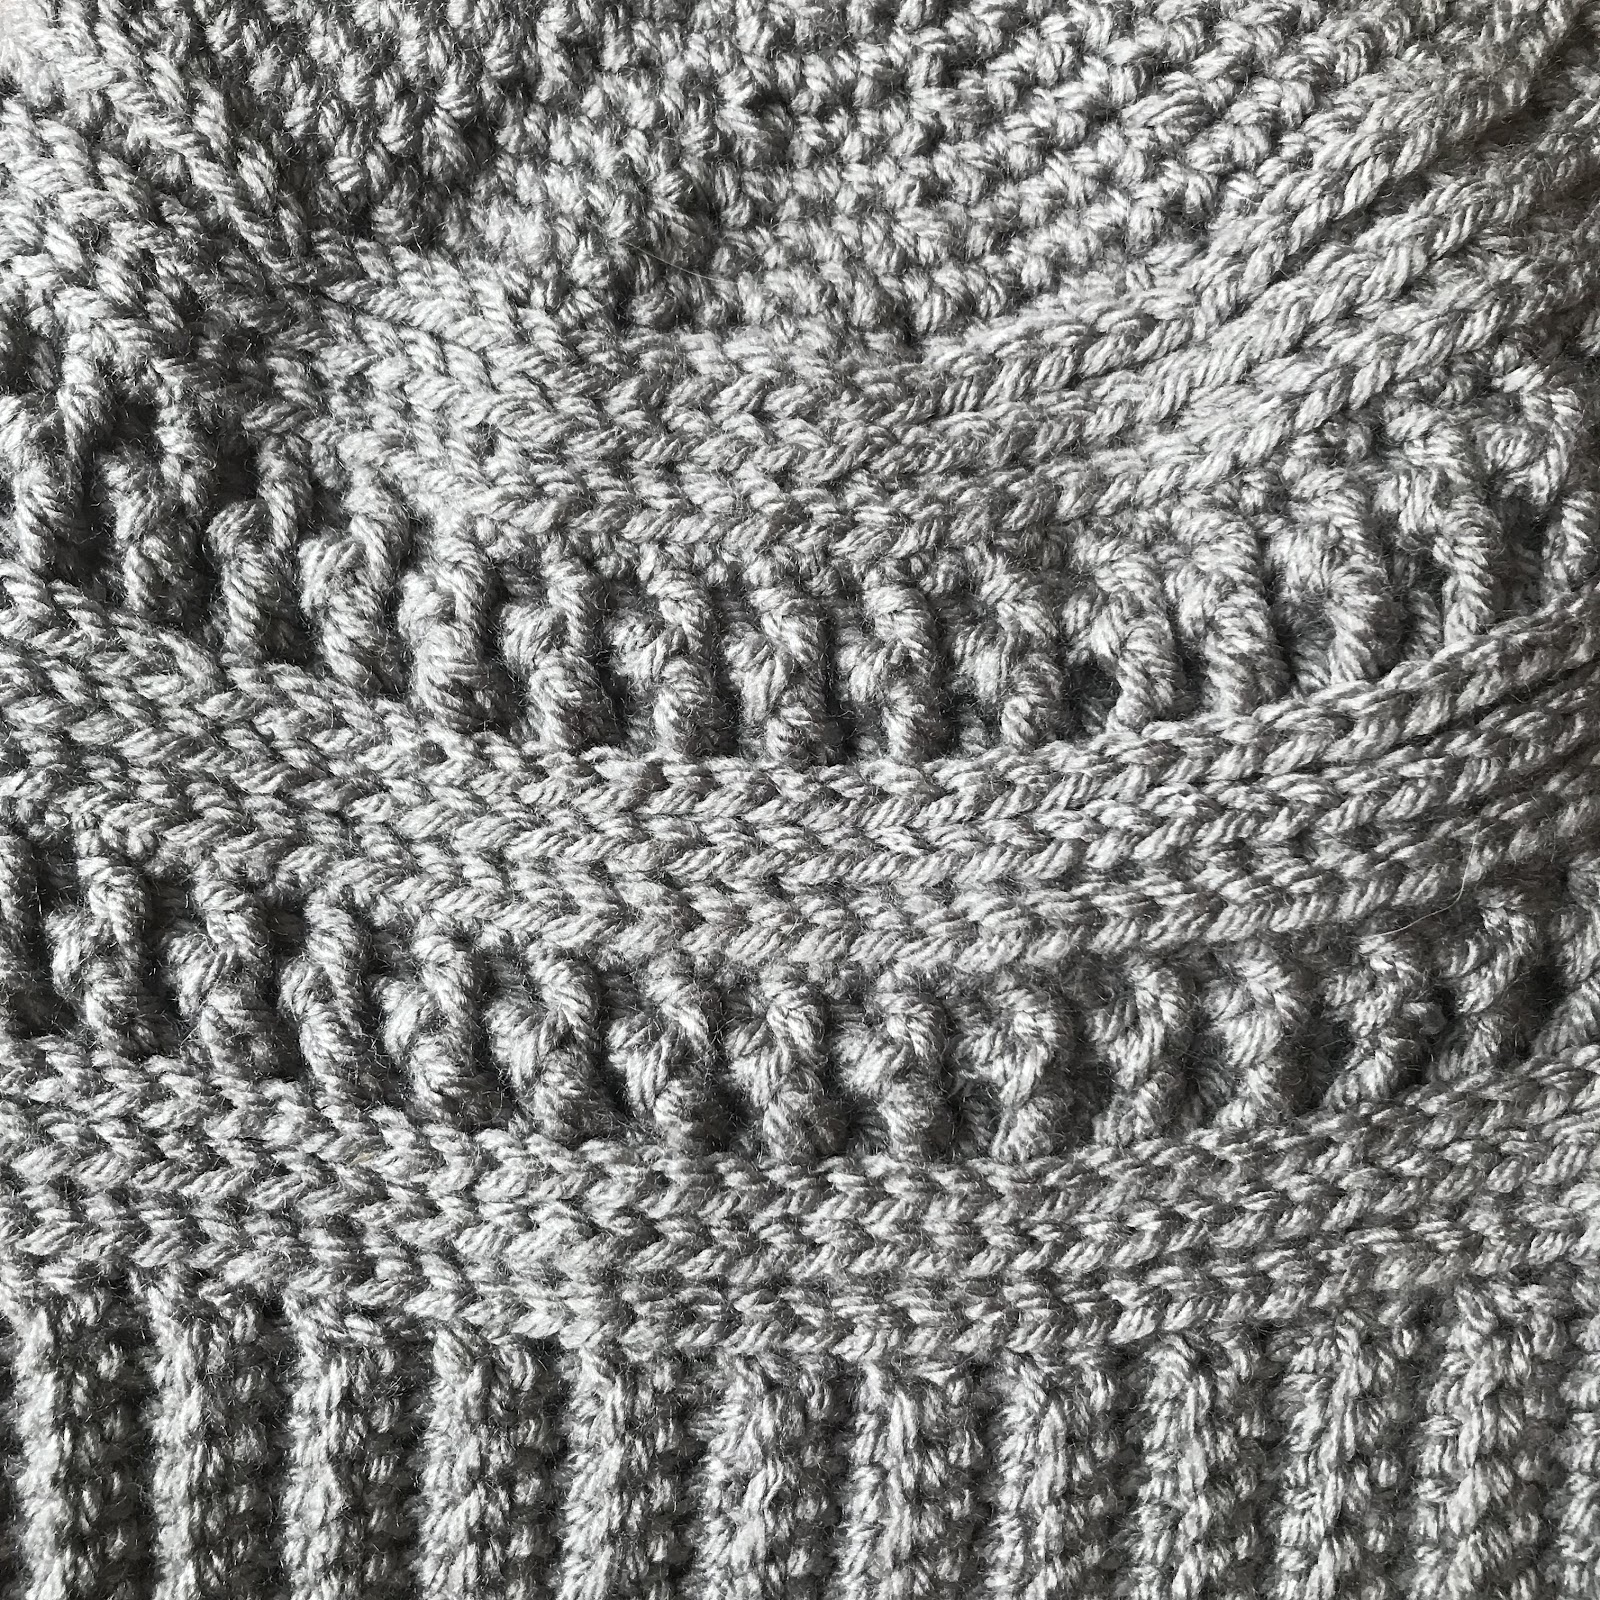
Up close photo of camel stitch rows and post stitches
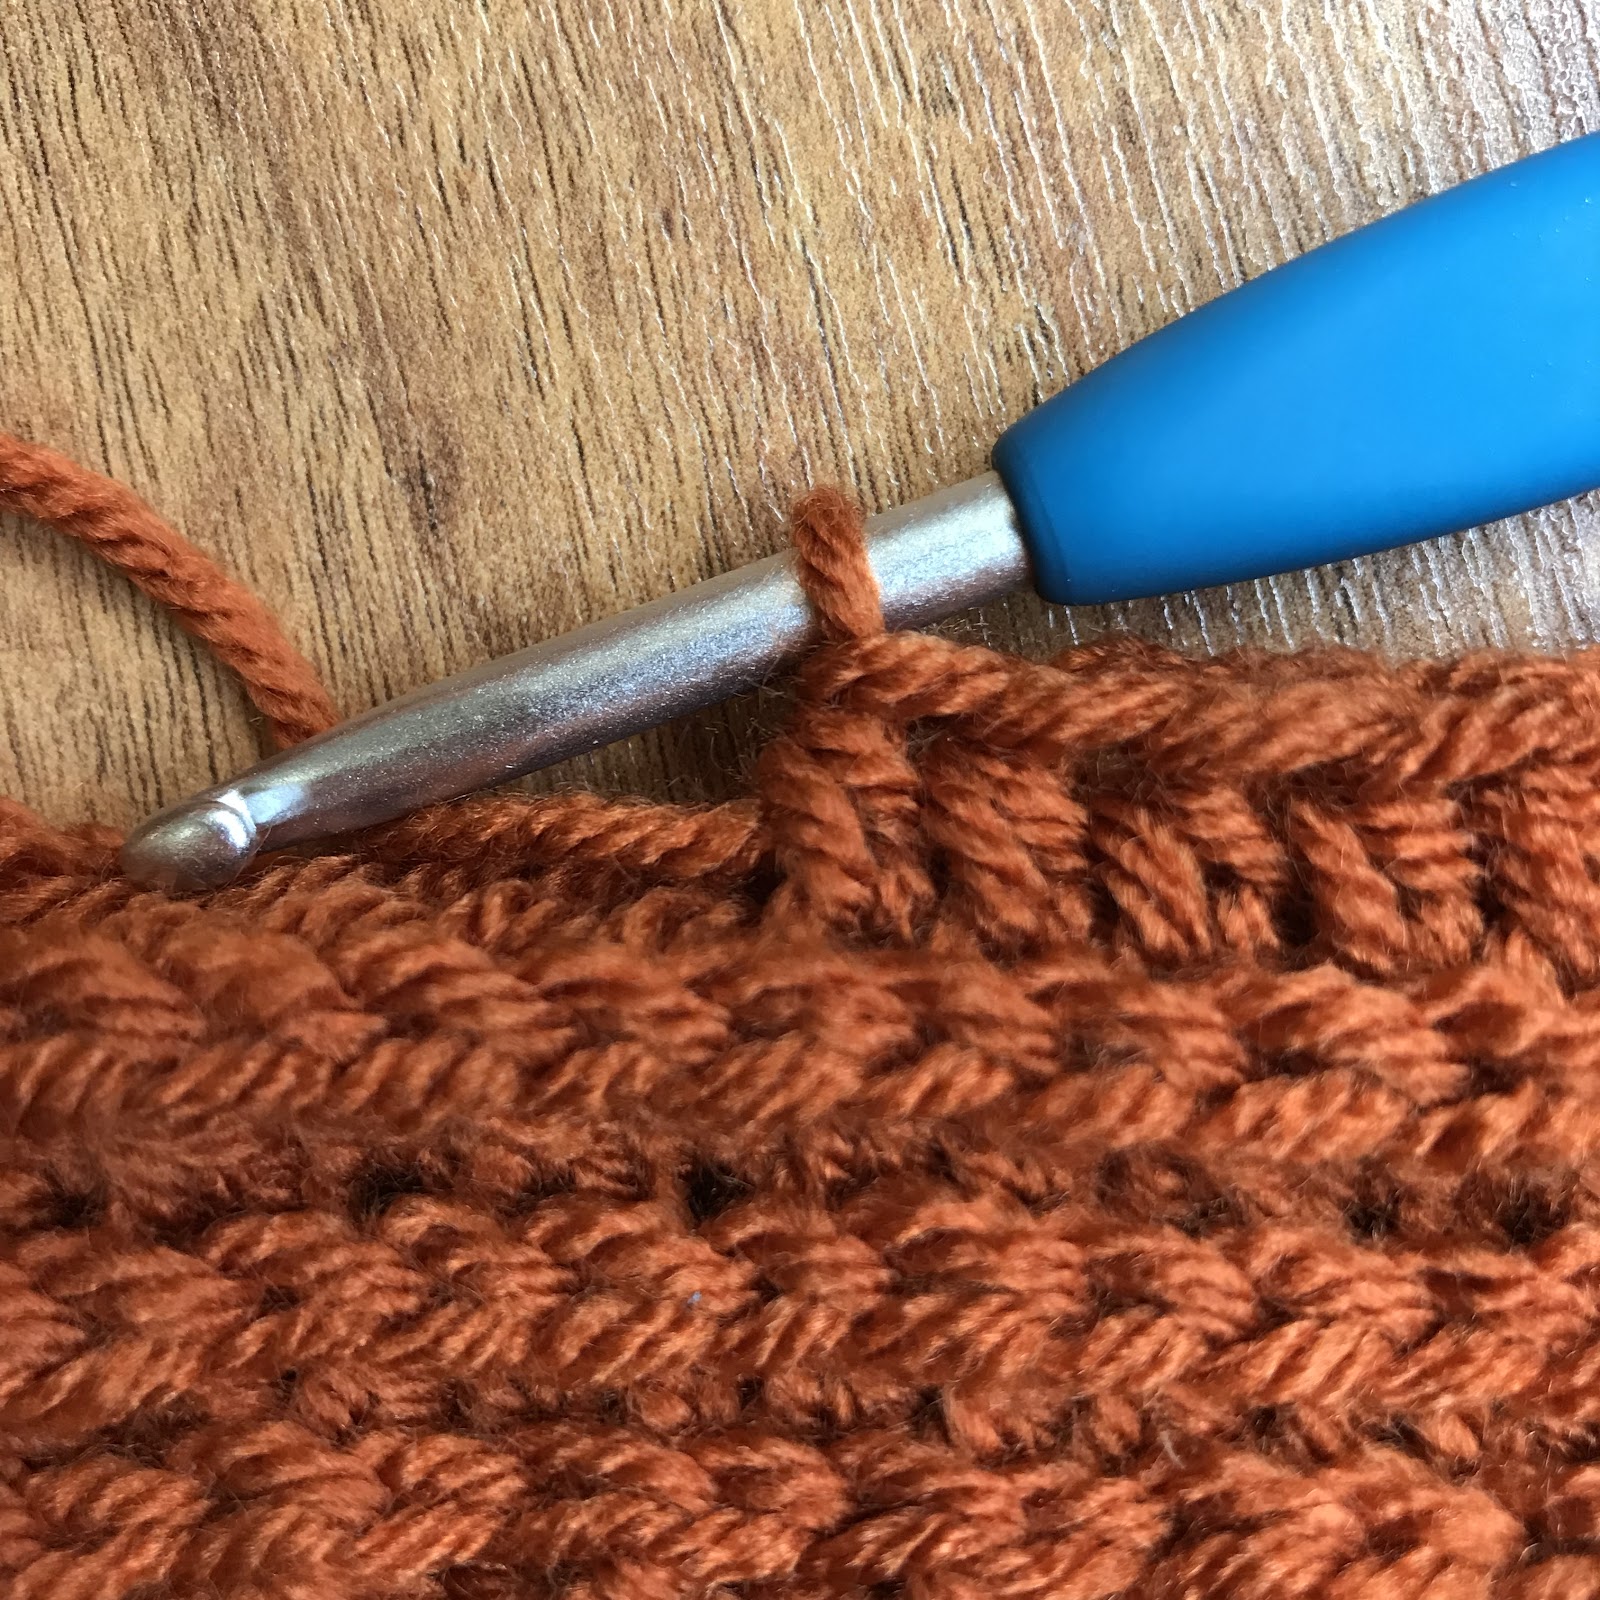
Up close photo of crocheting in the third loop/camel stitch
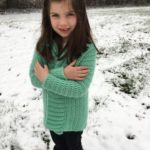
Measure hat after about 10 rows. The brim will appear tighter but it stretches more. It also may appear wider than the recommended width. Don’t be alarmed if it is an inch or so off, just continue with the pattern making sure the length isn’t too long. It will most likely even out. Child size in photo.


Need a full video tutorial? See video HERE from Crochet It Creations YouTube Channel. Want more from these stitches? See the Ana Beanie, Ana Infinity Scarf, and Ana Ear Warmer.
Save for later or share with others using the share buttons at the top and bottom of post. If you have any questions please comment below or you can email me at jessica@crochetitcreations.com.
I love to see photos of your work and read your comments. Follow Crochet It Creations on all of your favorite social media sites! Join my Crochet It Creations Crochet Friends Facebook group to further connect!
You may sell your items made from my patterns. Please do not use my photos as your own to sell your work. A link back to my site is much appreciated when selling your items from my patterns. I hope you enjoy!
This site is supported by advertisers and may contain affiliate links. See copyright & disclosure policy here for more information.

I crocheted the brim on the messy bun hat but I do t understand how to slipstitch a row. I know how to connect a stitch but not sure how to slipstitch a row. Looking ahead you mention adding some SC every few rows, is this detailed in the pattern?
Hello! For the brim you want to connect row 1 to the last row by slip stitching through the back loops of both across…does that make sense? You’re “sewing” it together.
Is there a printable version? I am willing to pay for it. I am looking for a pattern that I can print and take with me. I usually use the copy and paste functions to put a pattern into Microsoft Word but the font on your site is too light. Also, the photos for guidance are nearly impossible to see, even just on the large screen of my laptop.
Hello! The pdf can be purchased from Craftsy here… https://www.craftsy.com/crocheting/patterns/the-gracie-messy-bun-beanie/543061
You can also try zooming in on your browser to see the photos better. I’ll take a look on my end and see if there is anything I can do to make it more visible. Thank you!
is this pattern incomplete? row 16 on the child size is where either you use a band of not with 36 st. the picture shows more rows after row 16. how many more times do you need to decrease to match the picture? looks like the adult version is the same way.
Hi Stephanie! The pattern is completed. I did add 2 more rows to the child one in the photo. The adult one in the photo is the same amount of rows as the pattern. Measurements and gauge are included. you can use those to be sure yours is the correct size.
If u stop stop where u say what is the proper stitch count on both sizes then?
Just want to know stitch counts at the end
The stitch count ends with 36 on both patterns. The adult size is 12 stitches bigger and decreases at the same row as the child size. It is 2 rows longer so that has it ending with the same stitch count since the decrease rows are subtracting 12 stitches each round. Make sense?
I am finding that my Ana beanie comes out slouchy. Do you have any tips for a tigheter fitting hat adult?? Thank you!
Hello! Have you checked gauge and matched your hook to that? Also check your hat measurements to the pattern. You could go down a hook size to get tighter
On row 4 the pattern states : ch 1, sc in 4 st, dec sc. Does this mean I skip to the 4th st in the row sc in that st then in the next st dec sc ??? It’s very confusing to me sorry ?.
Sc in 4 stitches. However that is not for row 4.
Thank you so much for this perfect pattern. I make them for the homeless I put it in ablessing bag. Bless You
The brim does not say to chain one when you turn between each row. Is there really not supposed to be a ch 1 or was that accidentally left out?
There is a chain 1 on the brim. It is stated in the pattern.
Do you consider yourself a tight crocheter? Just curious. I sometimes get a hat that’s a little too tall. I normally use I love this yarn. I’m wondering if Impeccable yarn is on the smaller size?
I think I do crochet on the tight side rather than loose side. I use I Love This Yarn for the video and the measurements were the same
i bought this pattern on a pdf and have not received it i want it but do not want to pay another 4;00 dollars how can this happen please answer
Doreen did you purchase off Ravelry or Etsy? Please email me at jessica@crochetitcreations.com and I’ll send you the pattern
I just made a child and adult size of these! I love this pattern!! Thank you!! I want to make a newborn size, do you know the stitch count for that size? Or pointers on how to?
Hello! You can run using a light weight yarn
I decreased the child size down to 24 stitches at the end, because that is what most messy bun patterns do. The 36 stitches seemed too wide. Has anyone else done this? My hat ended up being 6 1/2″ long with the extra row. Does that sound right for the length? Hat pattern is very cute.
Hi Jessica, I just finished the child messy bun beanie. I LOVE all of your Ana collection. I now have completed 5 😀,messy bun, beanie, ear warmer, scarf and fingerless gloves. I love the pattern.
I will be doing an adult size tomorrow.
Thank you so much for creating this collection and sharing with all of us.😊
May I ask how old the model is for the child’s size in the photos? I’m trying to get an idea if this will fit my customer’s daughter. Thank you!
I think she was 6 in this photo
Thank you!! That’s about how old the daughter is.
Struggling to find the ‘third’ stitch on a single crochet. I’ve only ever heard of it done when the previous row is a hwc. Any hints? Or just take out Row 1 (SC) and make it HDC…thoughts? Hahahahaha!
It is tough, check out the video. It could be easier to replace with HDC sts.